Toying around with VR in Tiltbrush to get at some concepts I’ve been throwing around. Unfortunately constrained by storage issues so the scale of it wasn’t what I had imagined, but fun to see what the possibilities could be nevertheless. Love being able to easily move and create objects in my physical space!
Lighting is Everything!
This is an example of why lighting makes all the difference. In my latest textured painting of a beach still life “Beach Arrangement”, one piece is taken in indirect light, direct light, and indoor lighting.


"Instead of..." Sneak Peaks
Working on a new children's book collaboration "Instead of..." written by James A. Ondejko. Here are a few sneak peaks of the illustrations I've been working on for this project.


HIIT Jump Rope
Make the most of your time with this 60 second interval HIIT workout. You will need: sliders (towels on tile/wood and plastic lids on carpet), stability ball, kettlebell or heavy weights, jump rope, and a heavy resistance circle band.
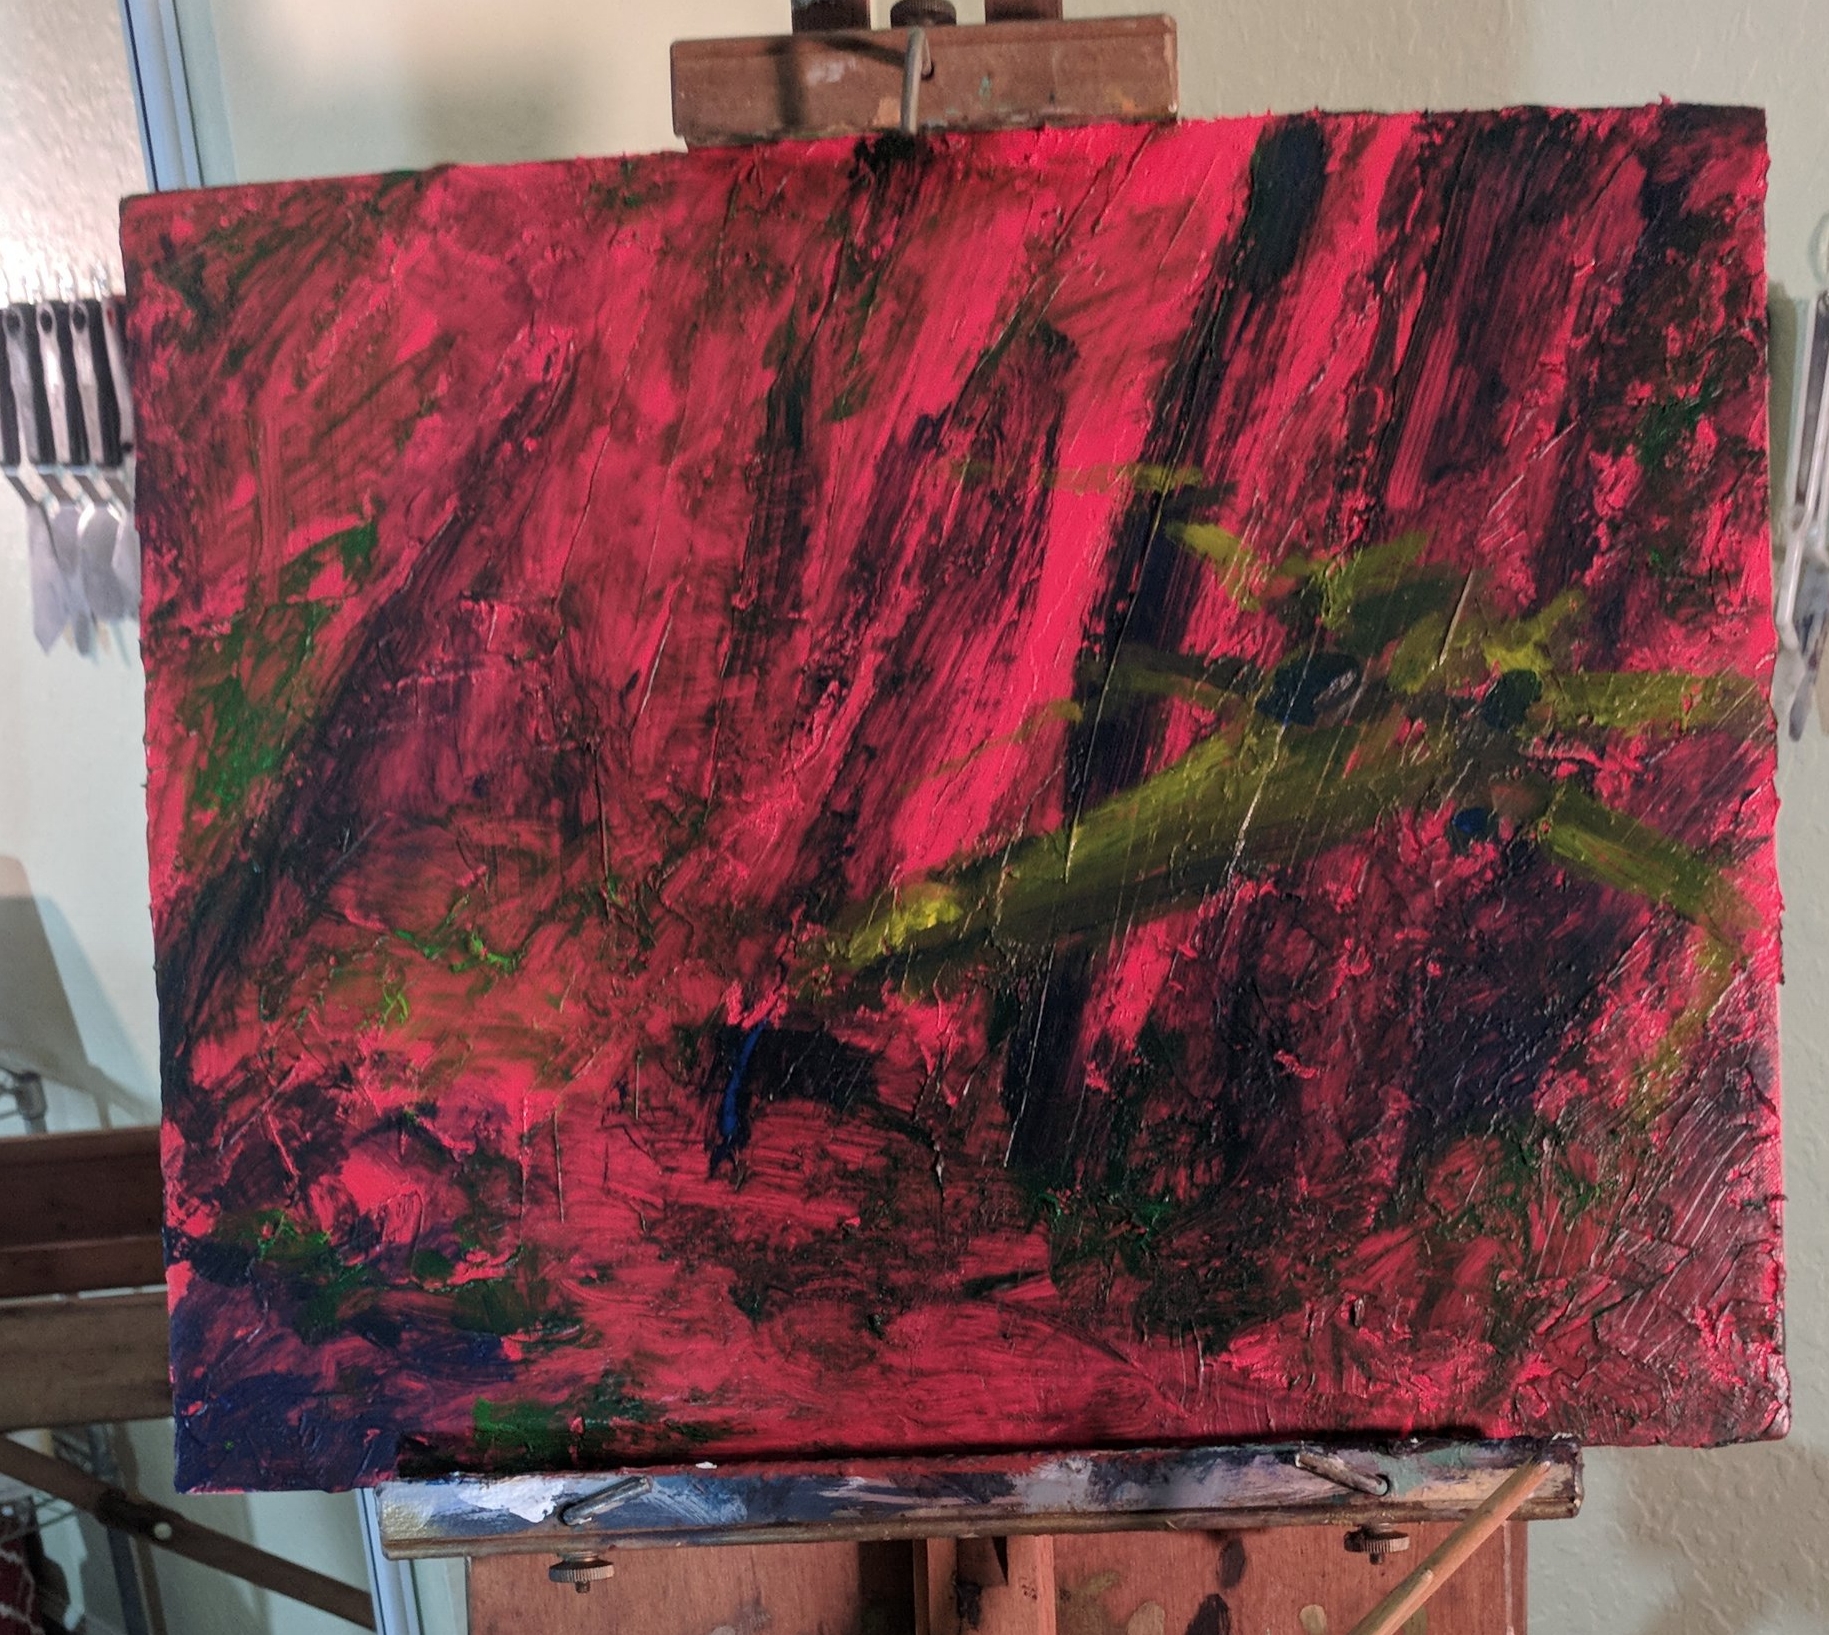
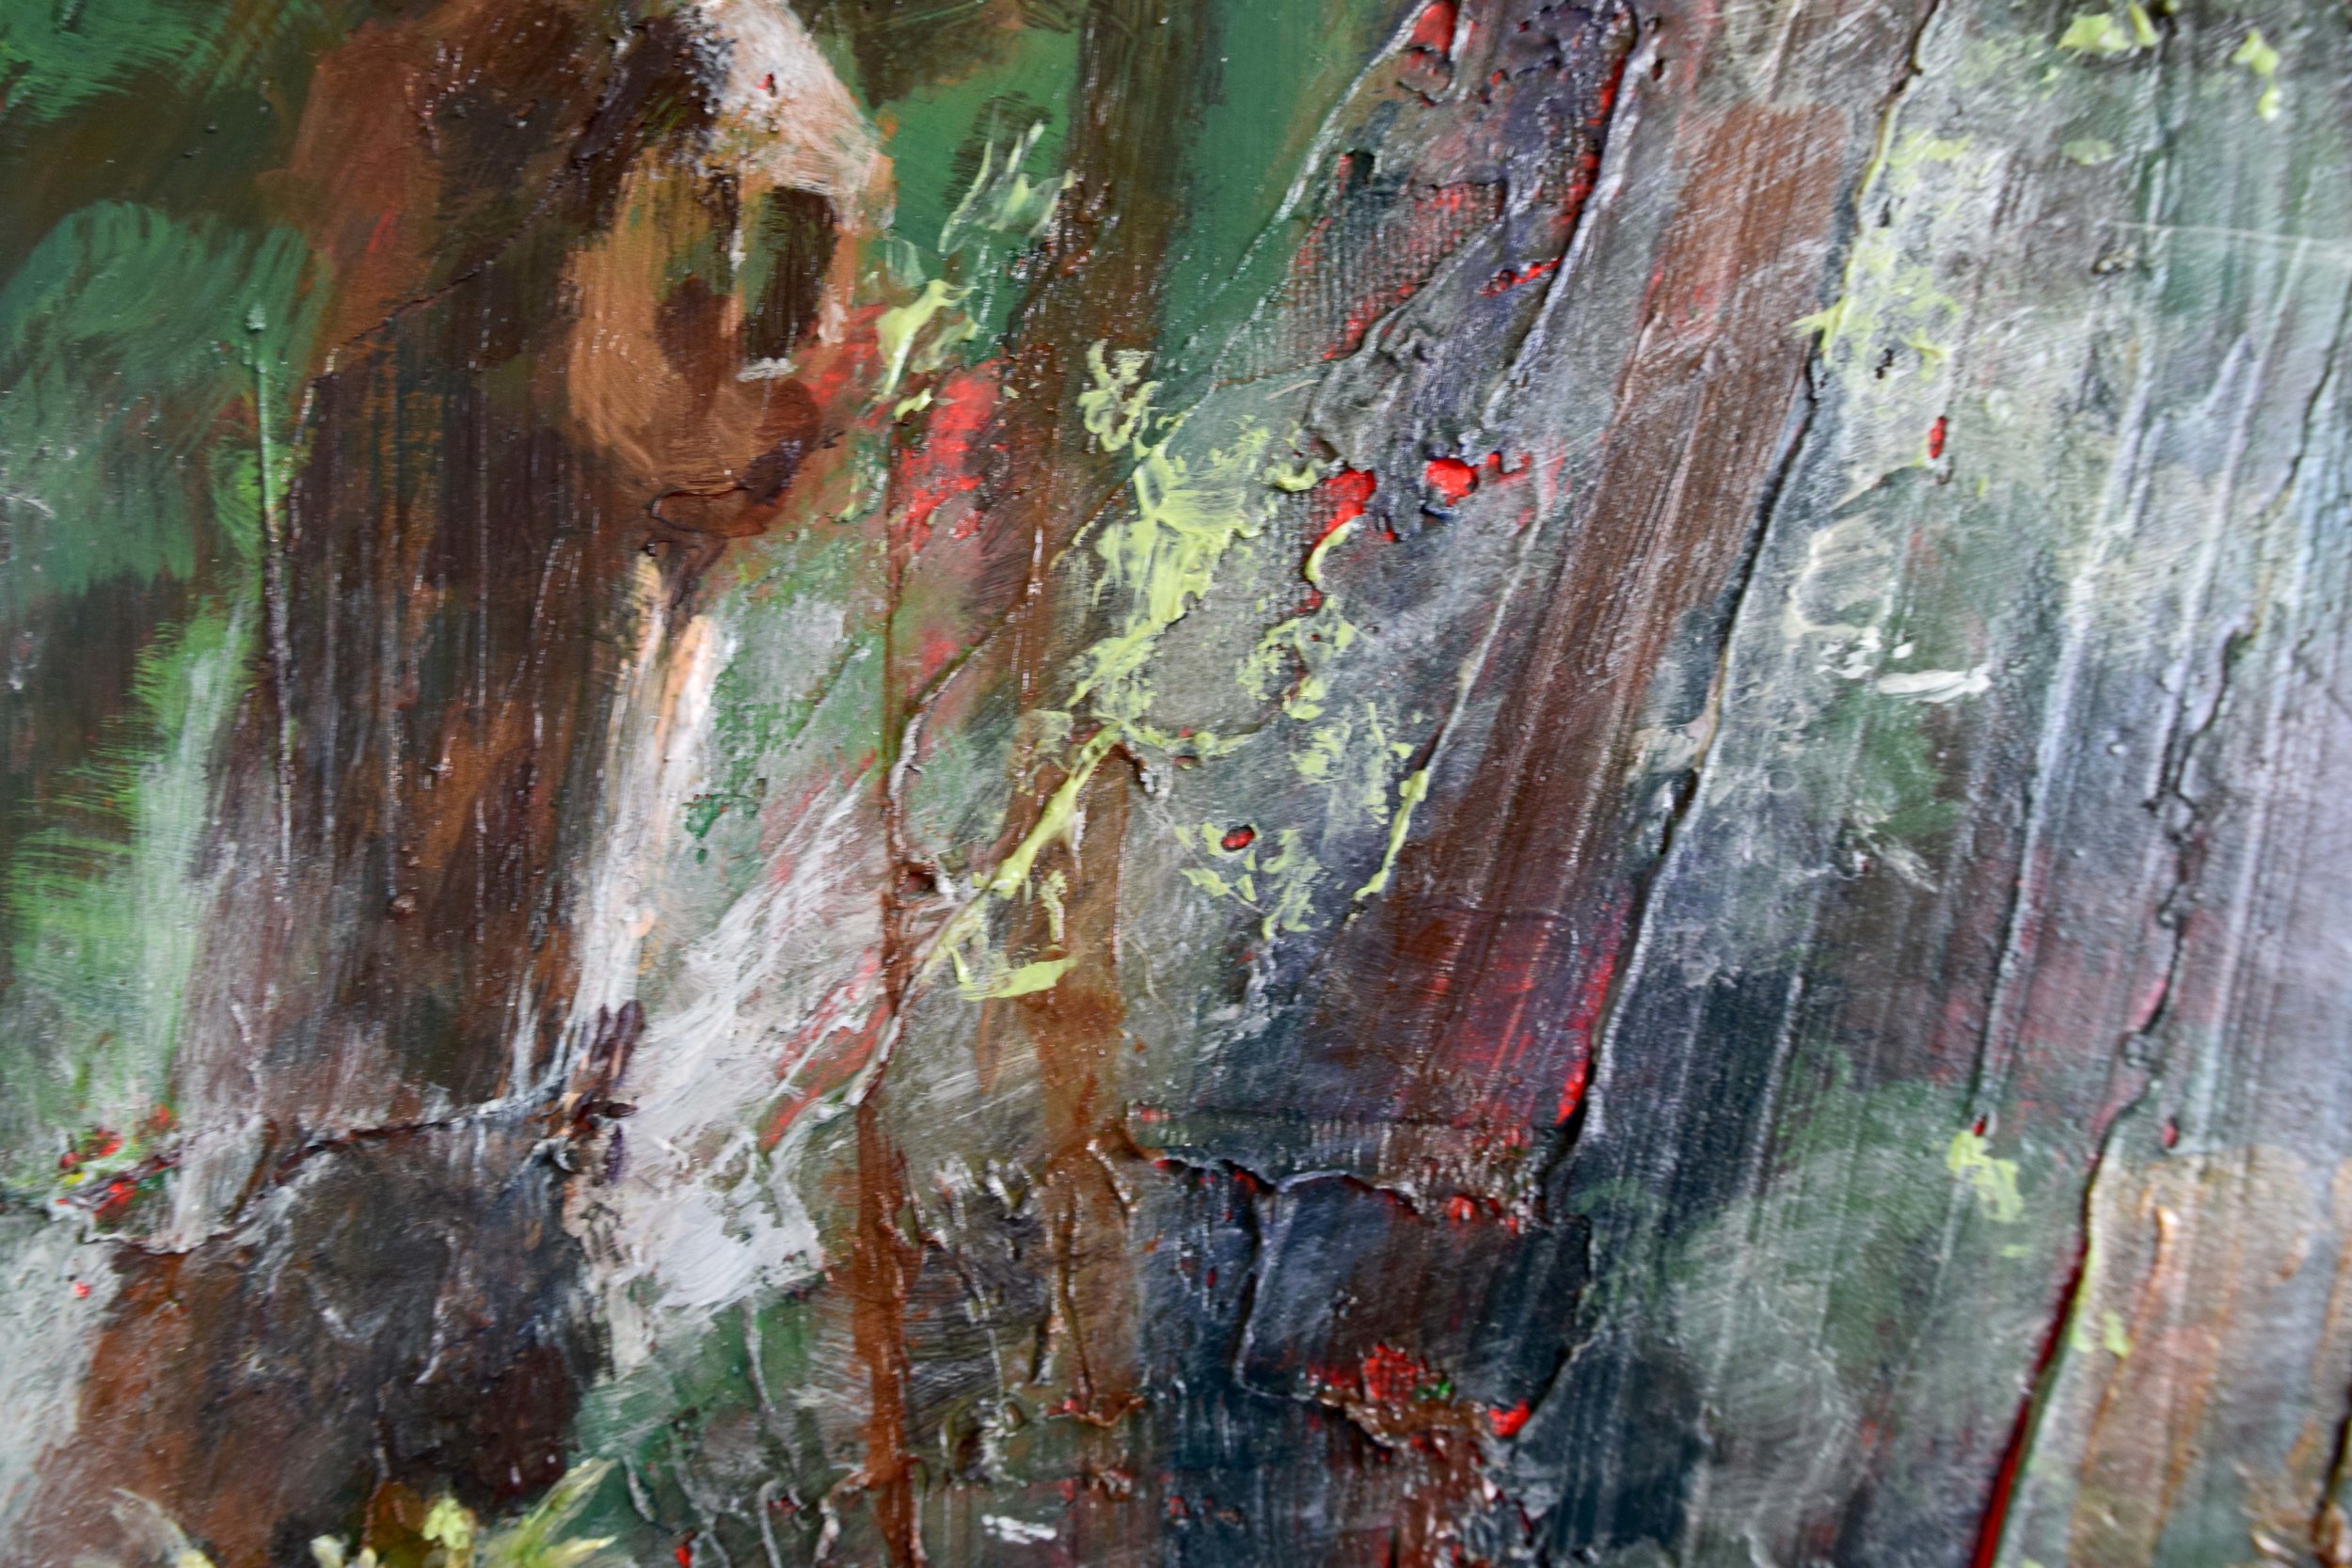
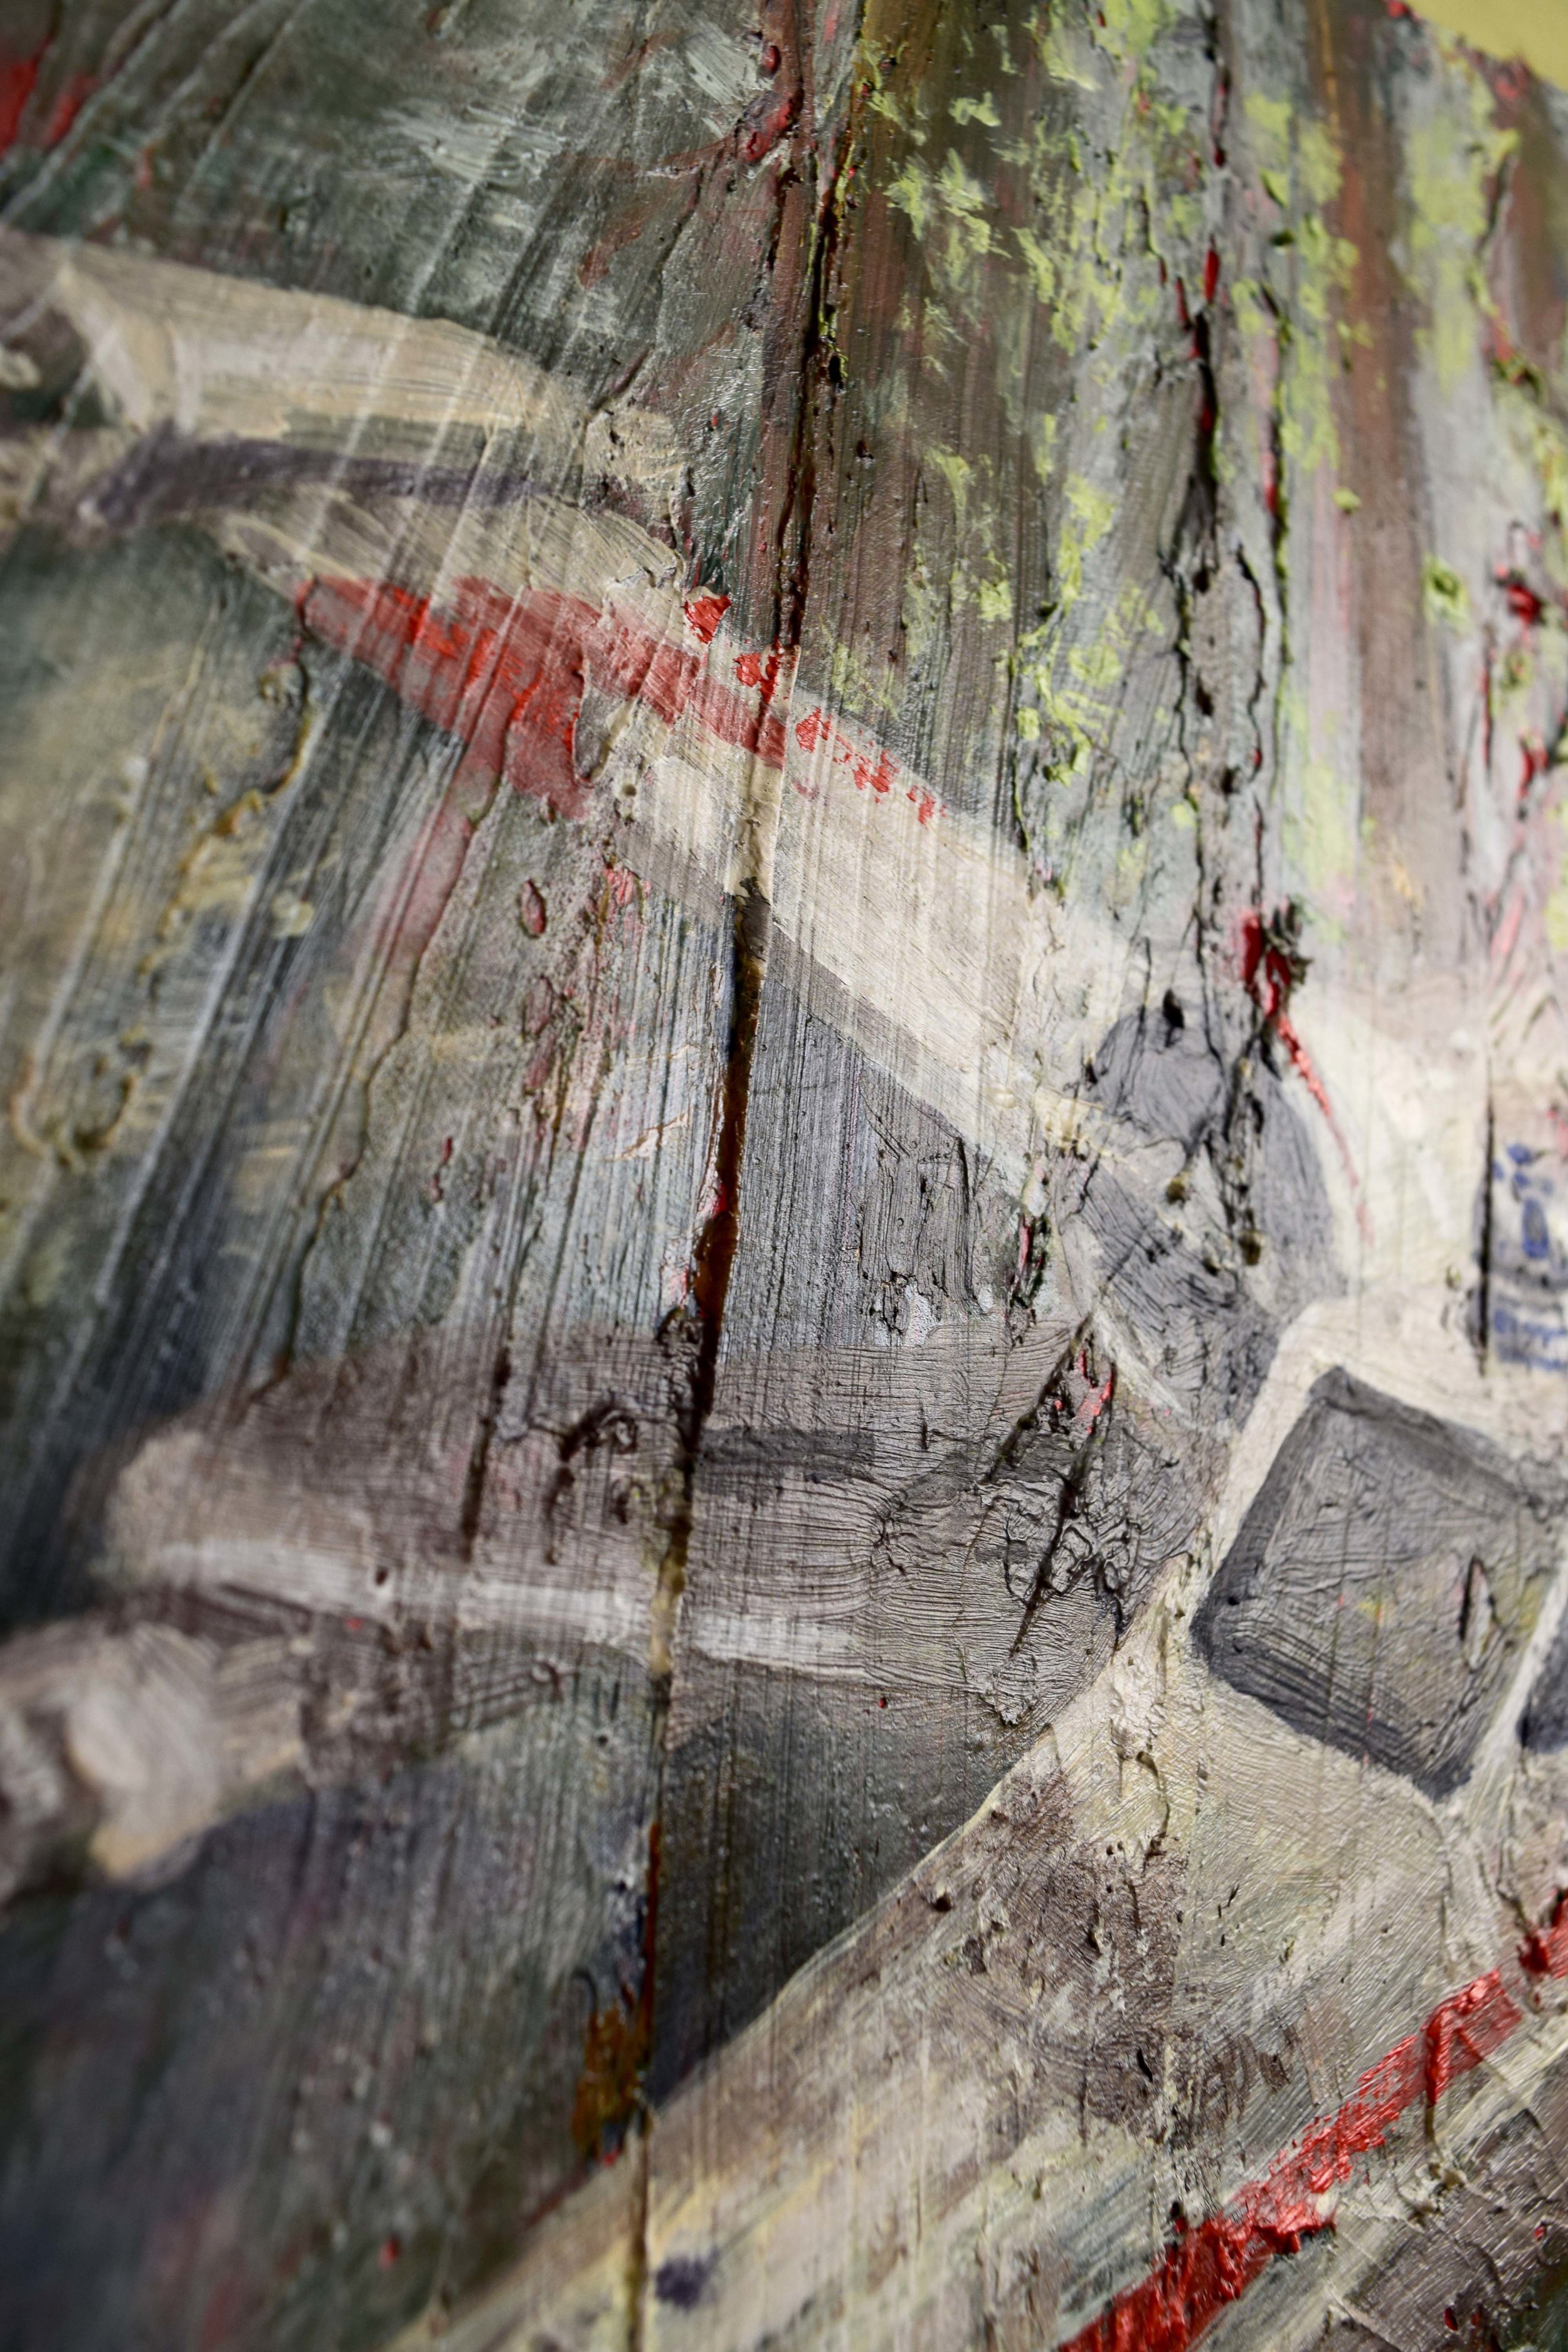
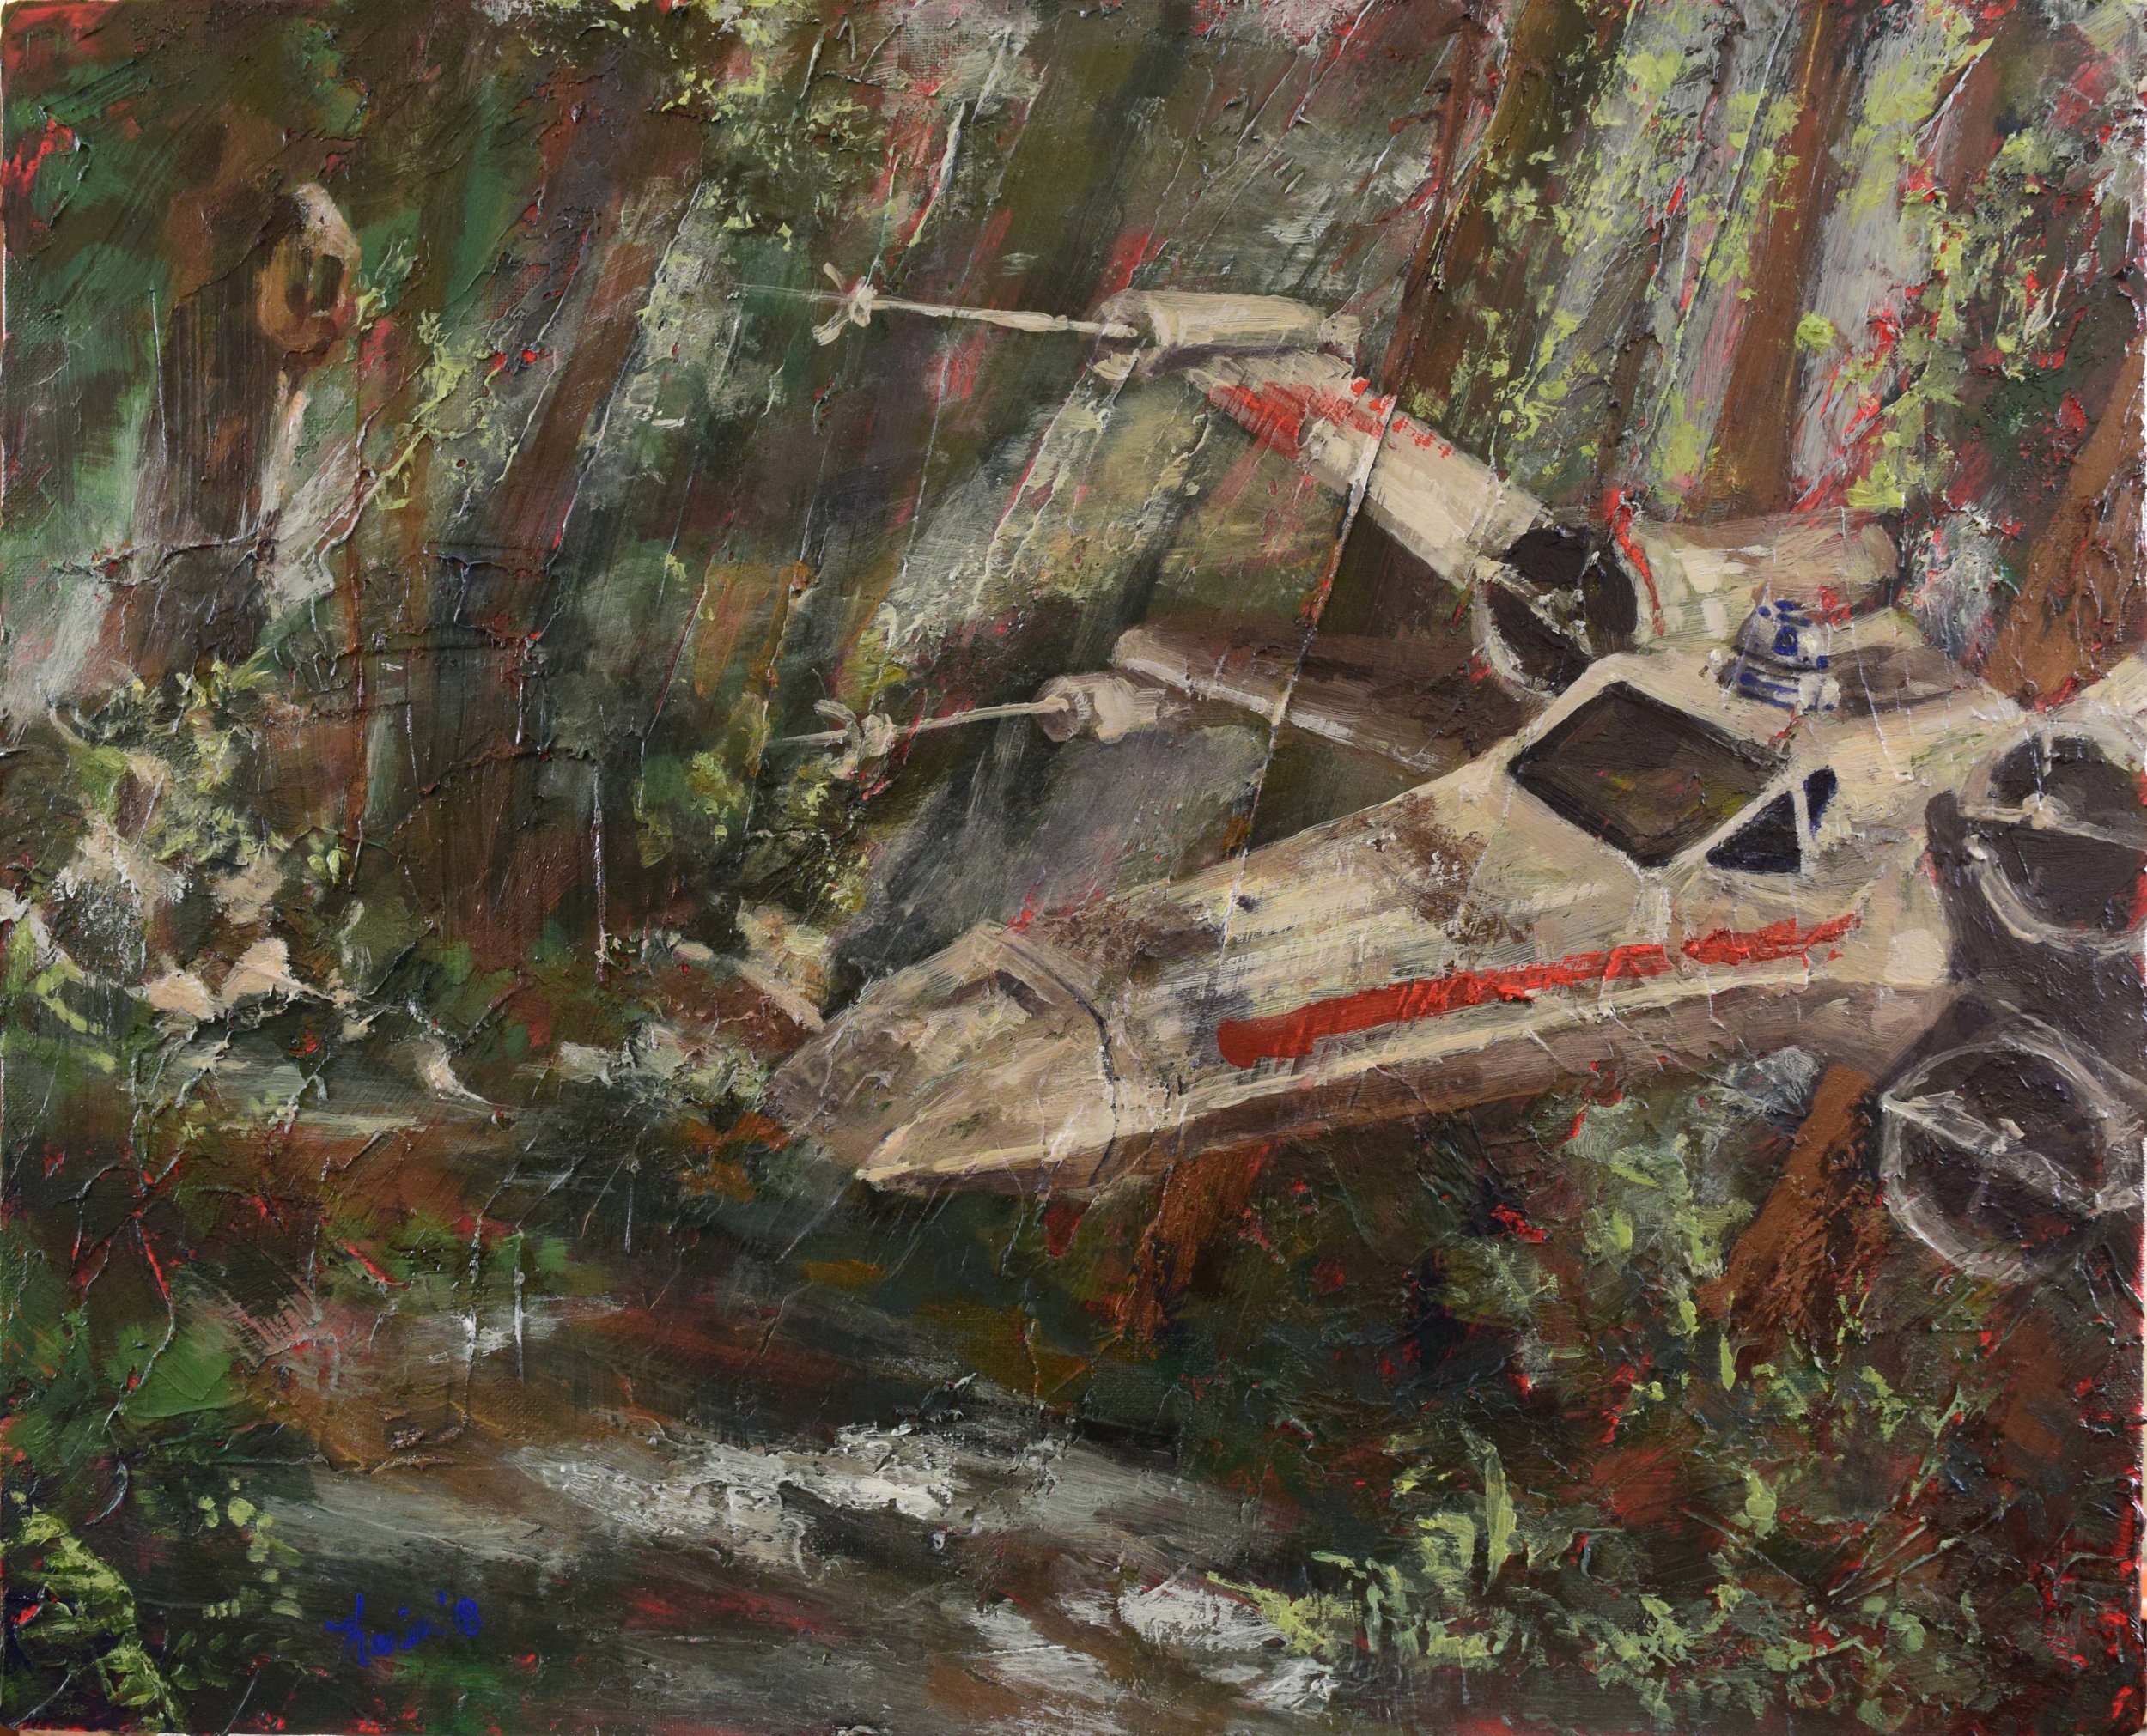
Aaron's X-Wing
I began this piece with my son's love for everything vehicles as my guide. After some initial planning, I knew I wanted my composition to have a fair amount of energy so I texturized the canvas with diagonal marks. Having the majority of my painting in earth tones, I chose a cadmium red ground with a high contrasting green underpainting. I worked in glazes to add a new layer of coverage to the bright ground, careful not to let the vibrancy get too lost in the freshly lain paint. Considering how the X-wing interacts with its environment, I used the hazy clouds and beams of light to merge the subject of the foreground with the background. While working on this piece, I especially loved using the texturized canvas to highlight some notes in the paint, and look forward to using that technique again. Take a look below at some process and detail shots, and let me know what you think.


Seaside Memories Progression

I first did about 4 or 5 planning sketches to get a feel for different compositions. I landed on this one as a color spring board.

Session #1 I'm mainly concerned with filling in the white space and planning the composition at this point. I find white space tends to glaringly stare at me so I like to get a feel for where things are going rather early on in the process.

Session #2 Structure added to the left figure and the right figures have been worked on with graphite powder and watercolor.

Session #3 Worked reductively with an eraser on the right figures to add tones and highlights as well as some basic structure. I also took this session to add a few more layers of depth to the water.

Session #4 Detail work added to the central figures in graphite, reductive eraser, and watercolor. Both figures work together with lines curving toward each other, figures leaning inward, and the silhouette of the two create a circular motion. I also added flowers in the foreground at this stage.

Session #5 and #6 After working with loose graphite, I had to spend some time cleaning up the overall surface of the canvas which made a surprising difference in seeing all of the watercolor layers that had been hidden underneath. In these sessions, more warmth was added to the background to counterbalance the bright orange figure on the left. Highlights and details were added to the female figure on the right and both heads were given stronger structure.

Session #7 I began texturing the foreground and gave the figures weight with a more defined connection to the ground.

Seaside Memories 36"x24", mixed media on canvas.
This is the first time I used Yes! Canvas in my search for trying to find a surface for working in mixed media. I am so happy with how it received both wet and dry materials! I was considering going back to working in mixed media for some time so this first attempt at bringing it to canvas brings exciting prospects. Looking forward to continuing my explorations!
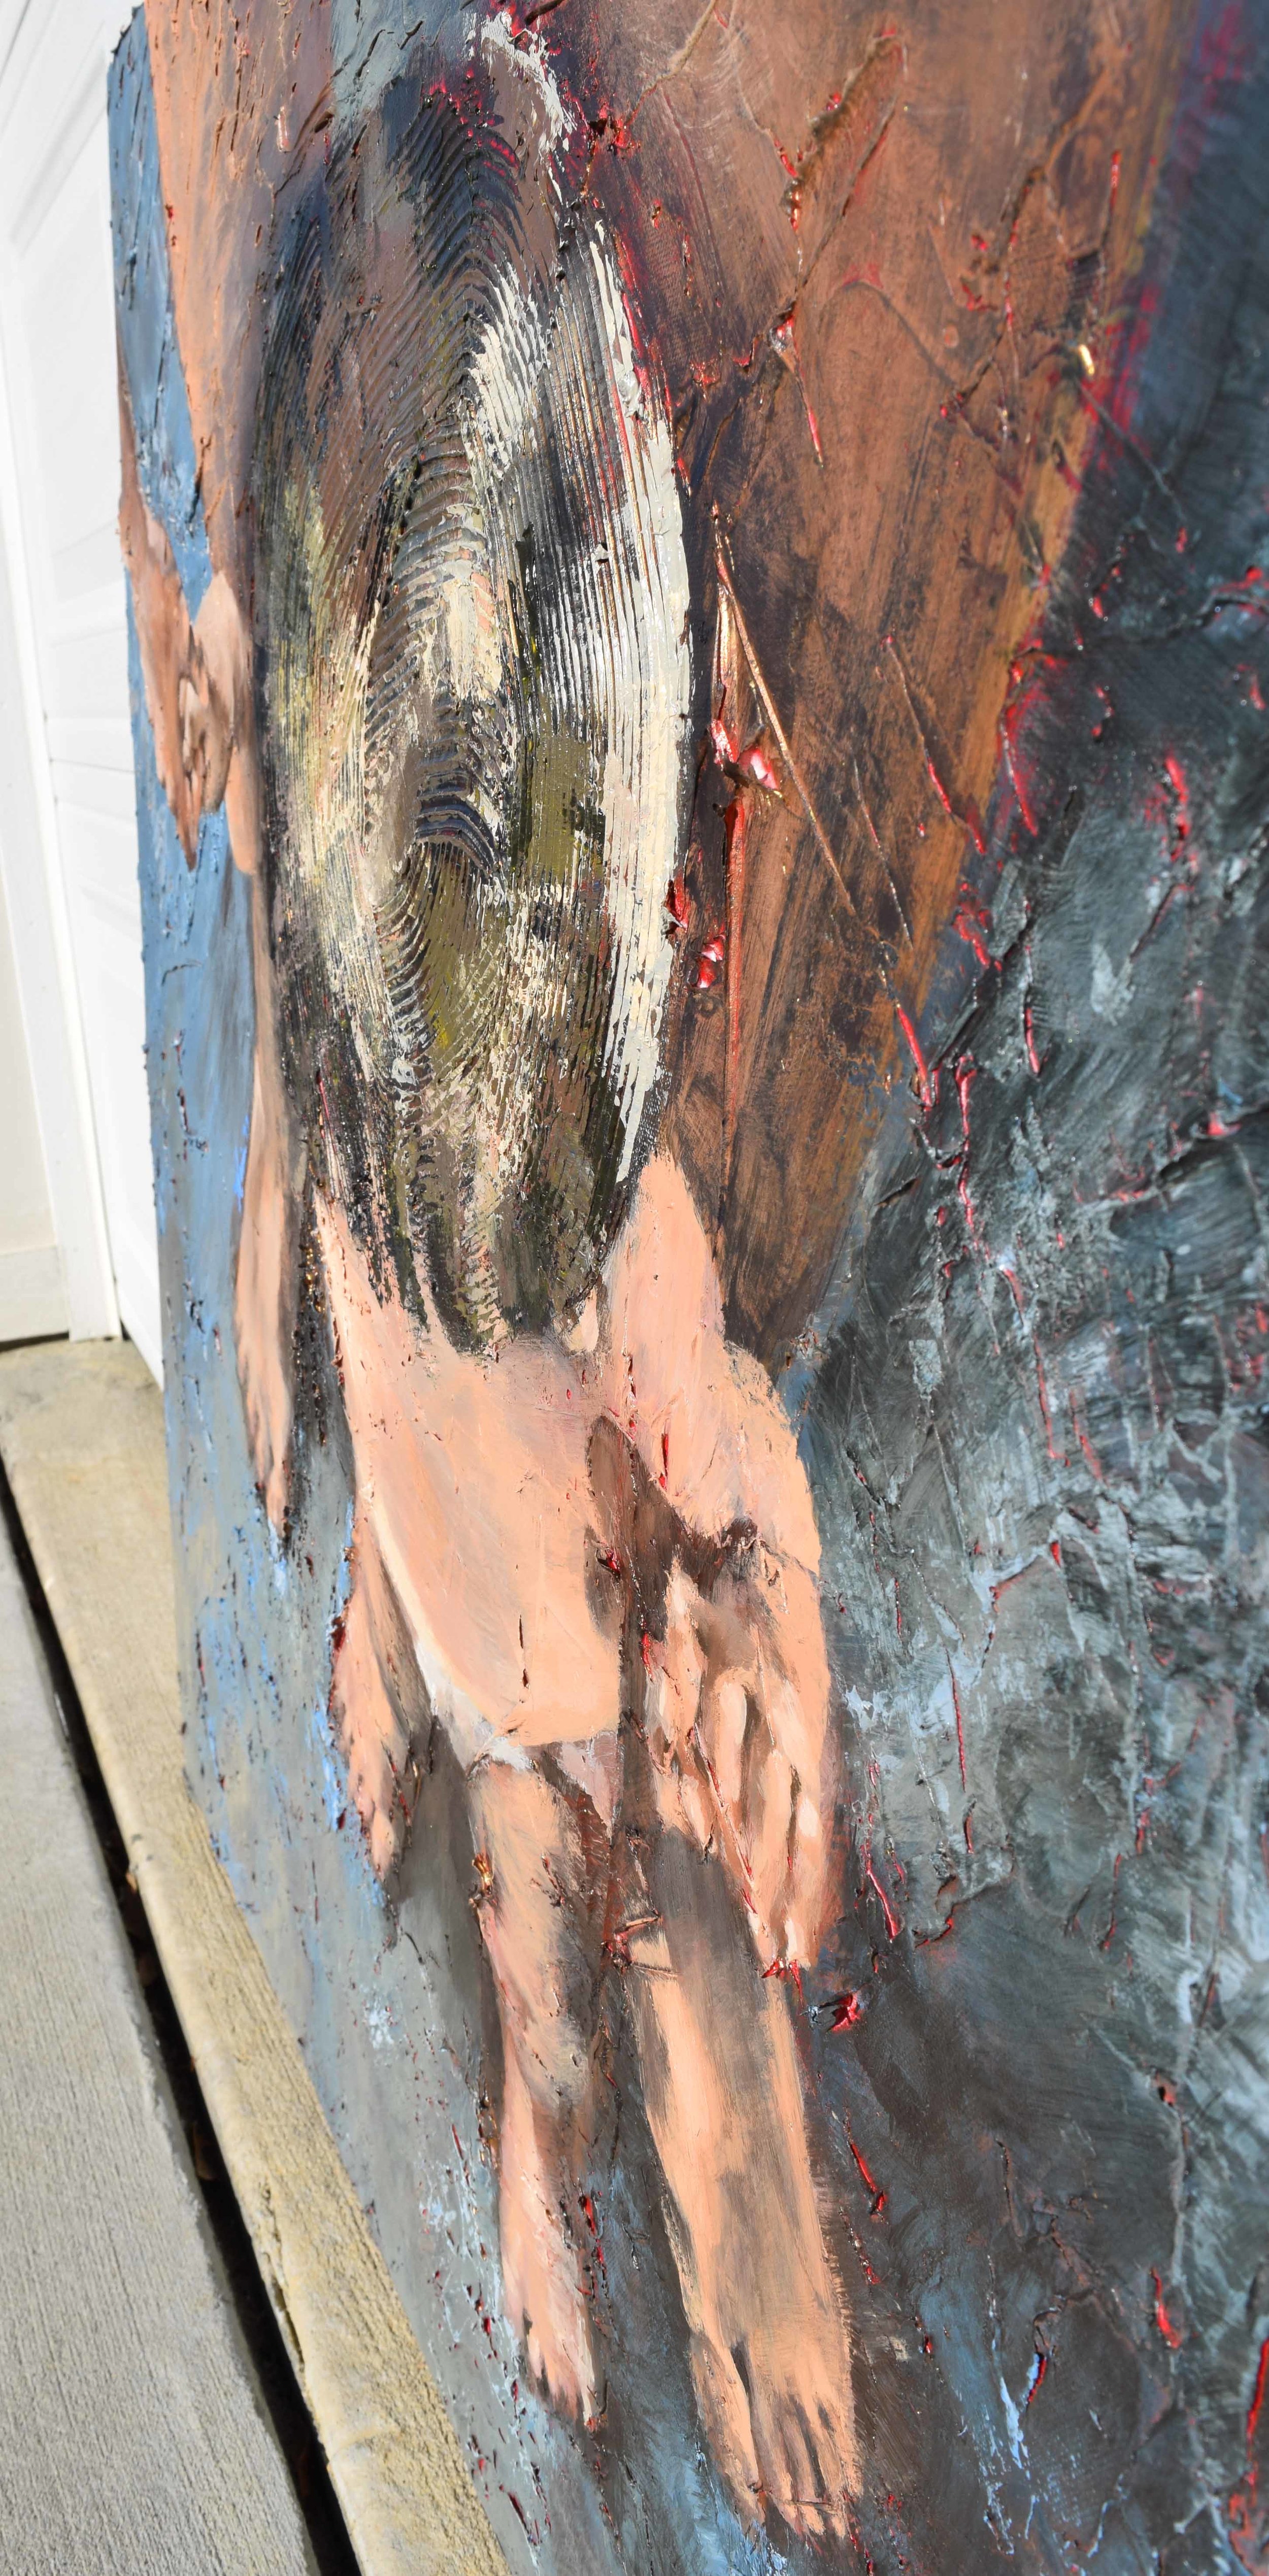
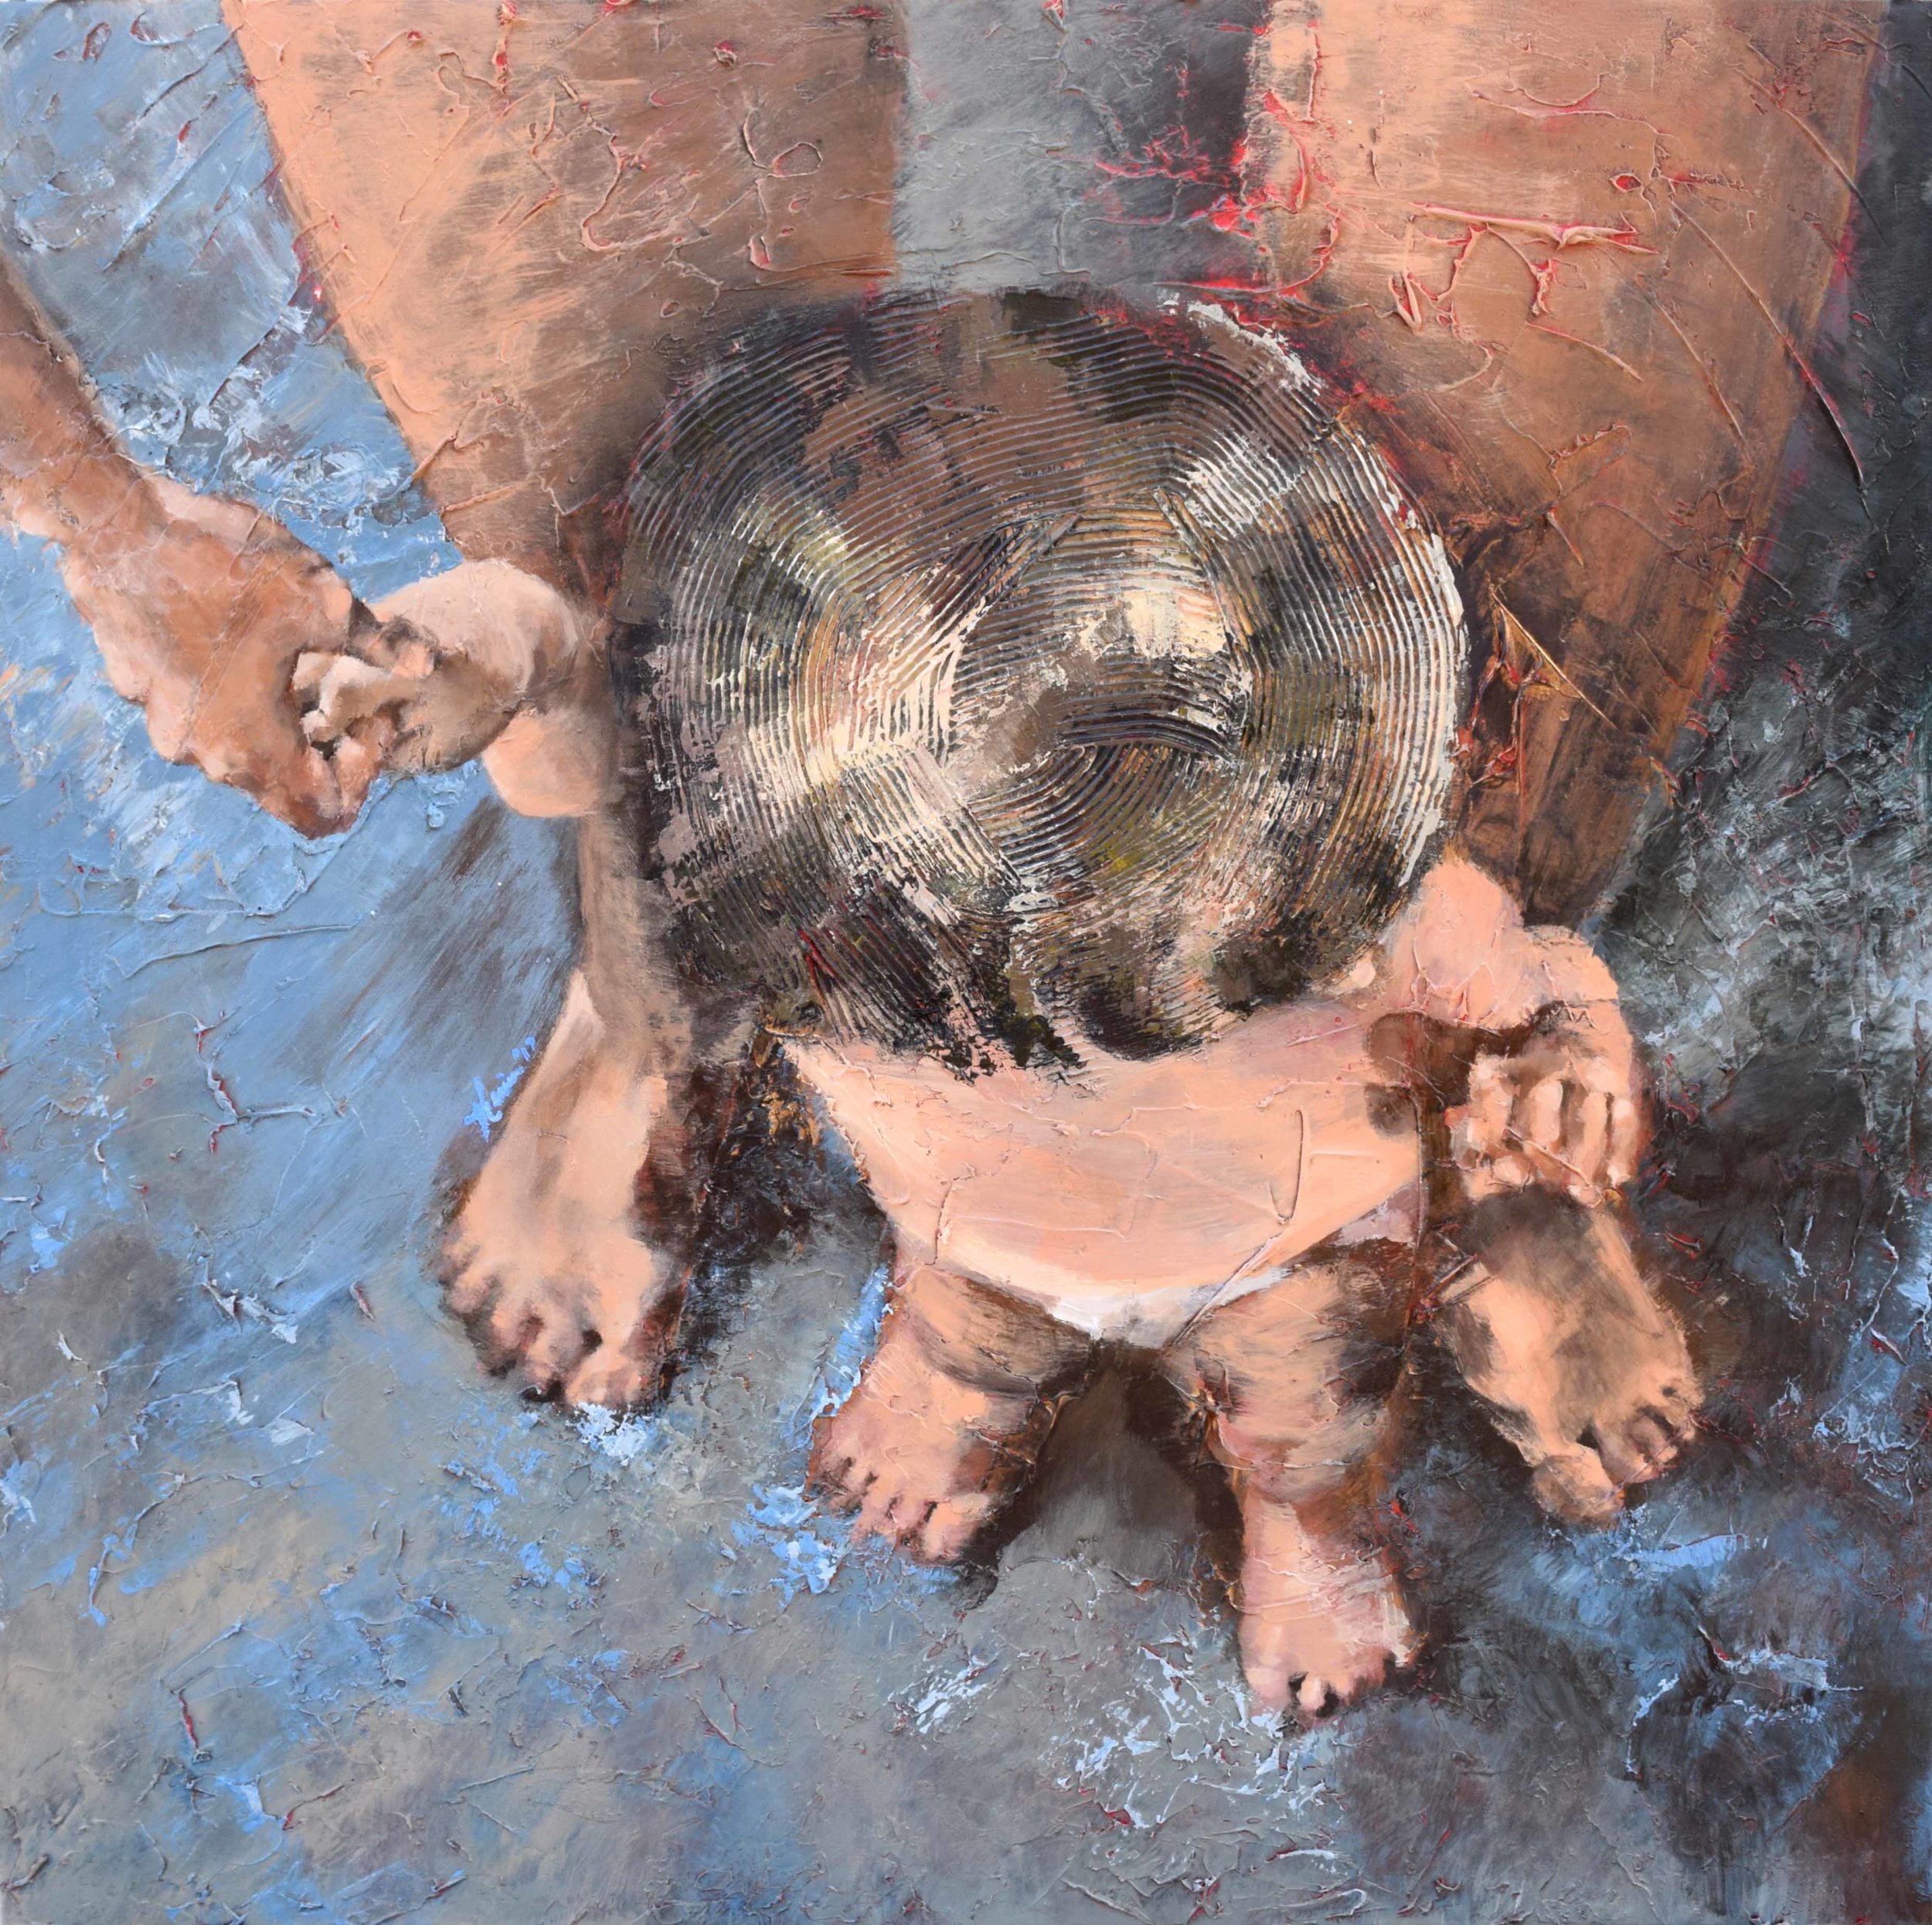
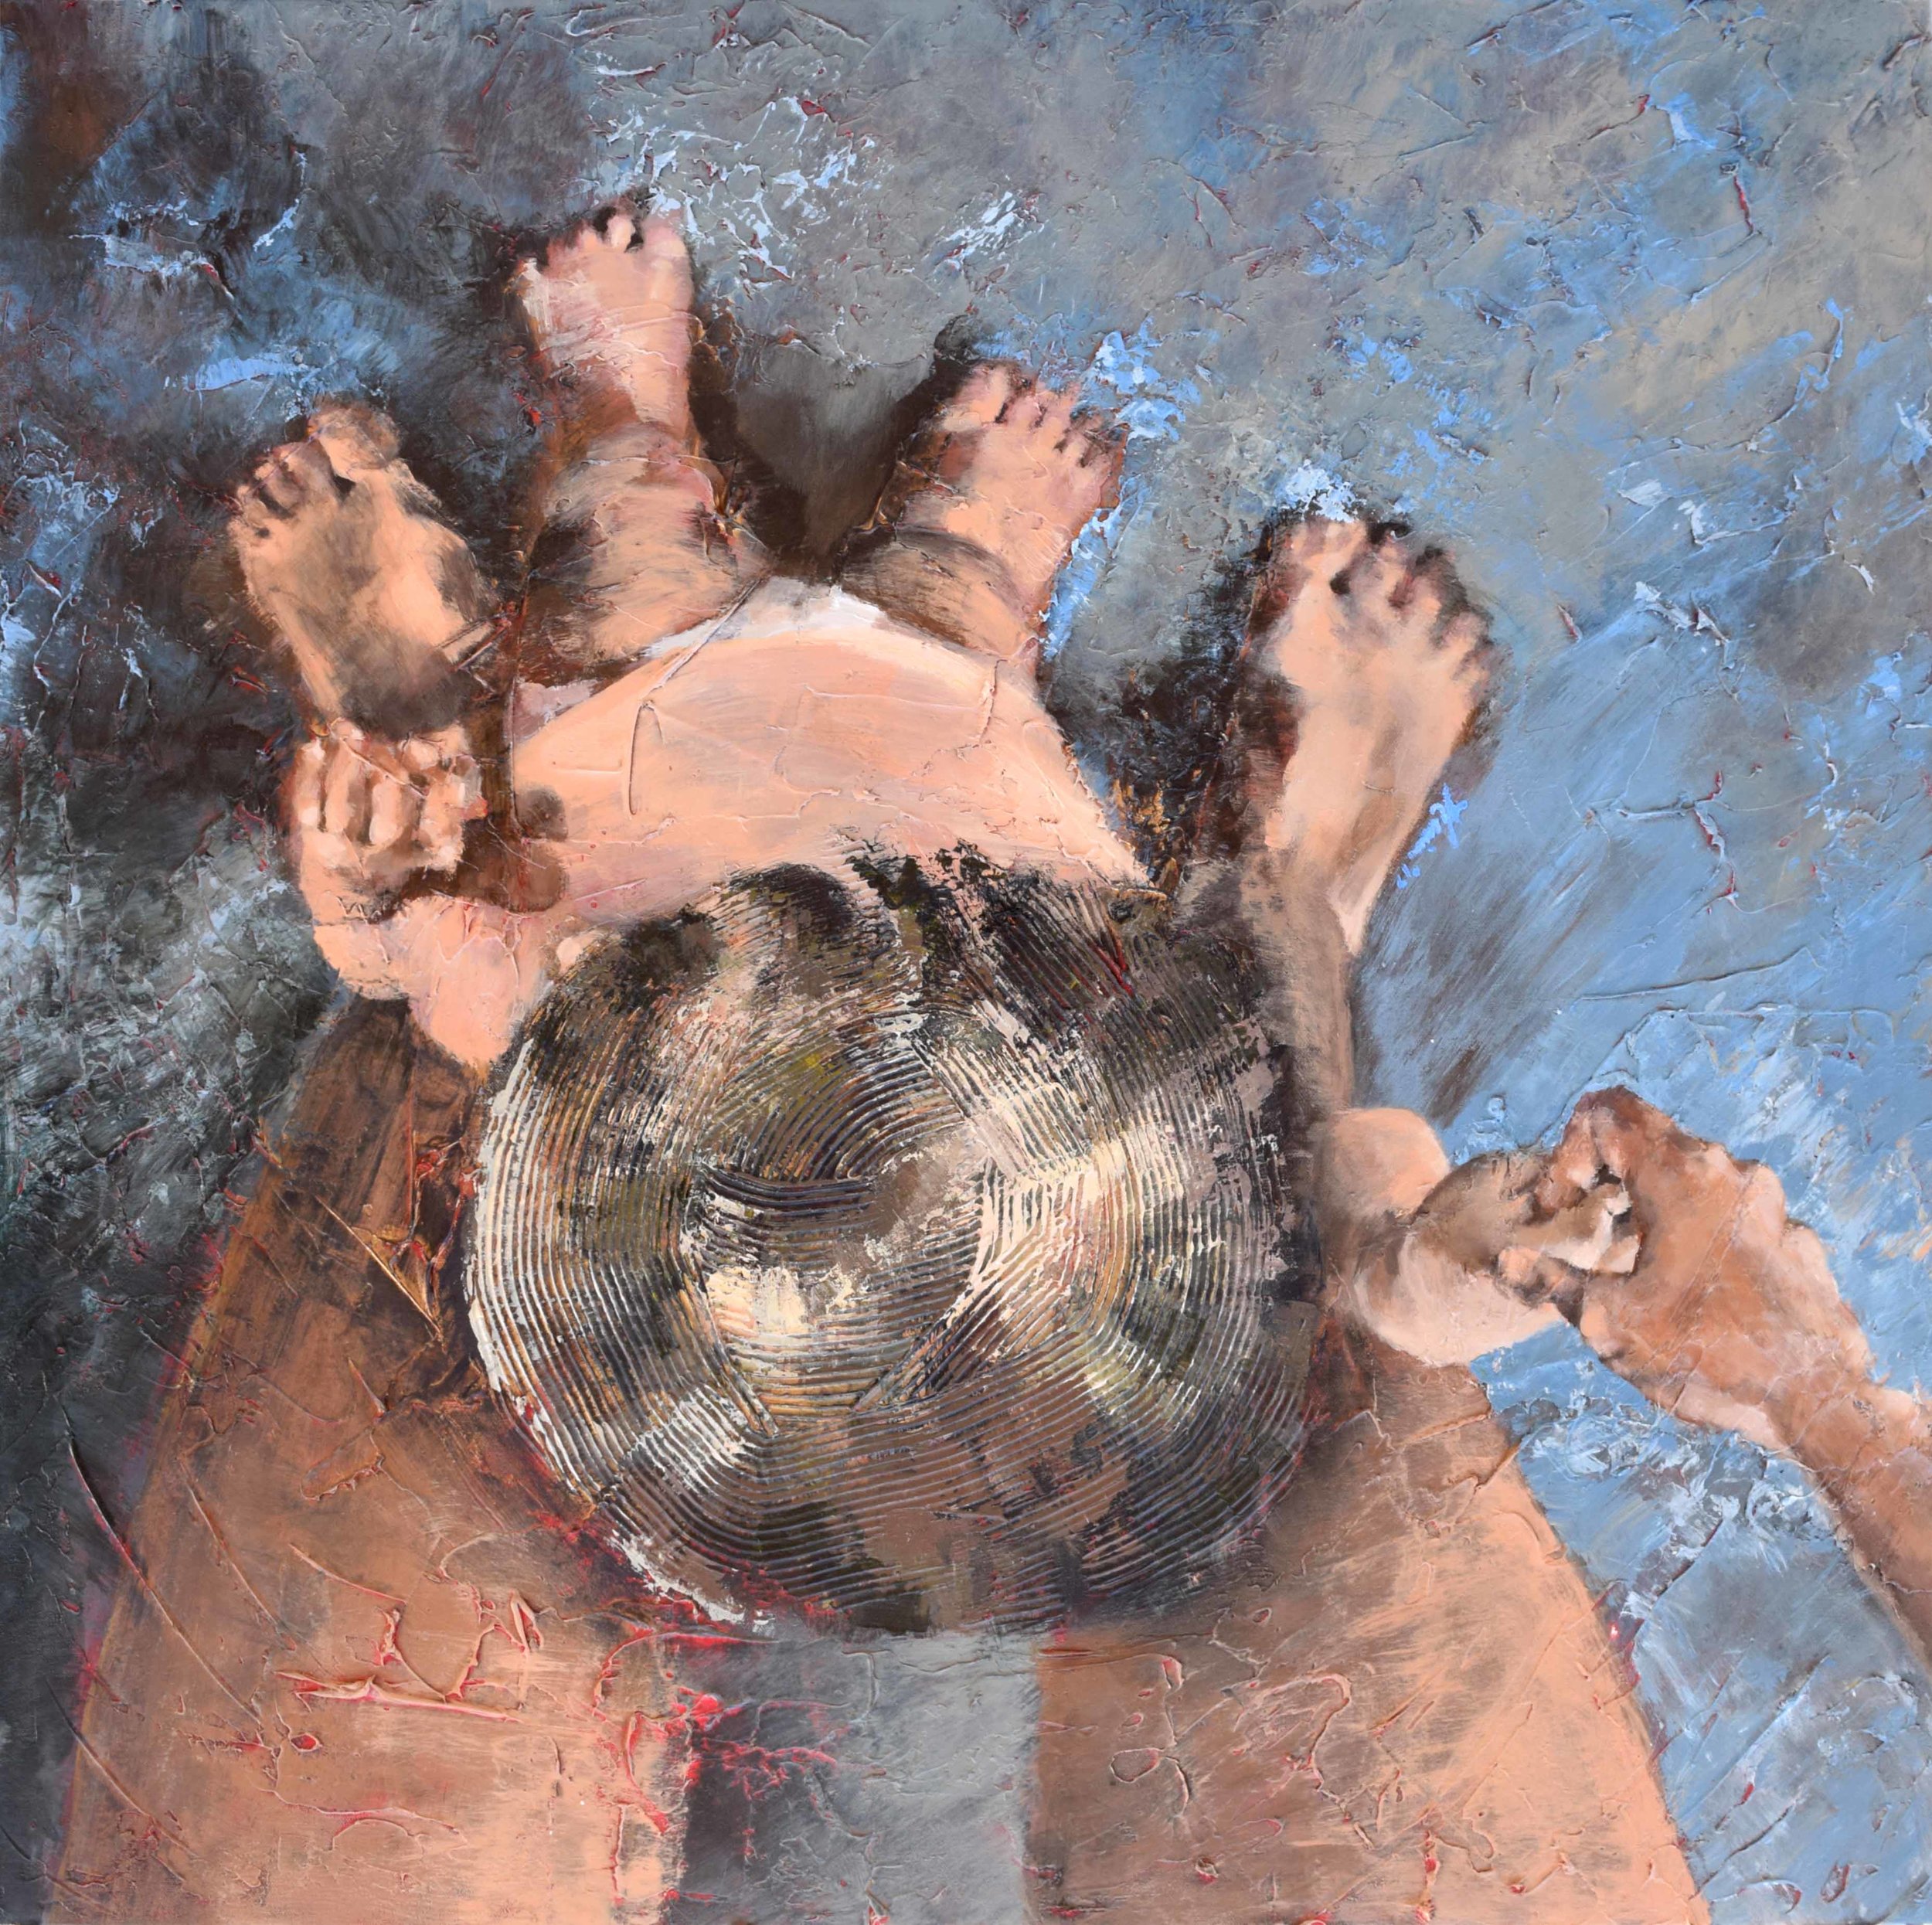
Take My Hand
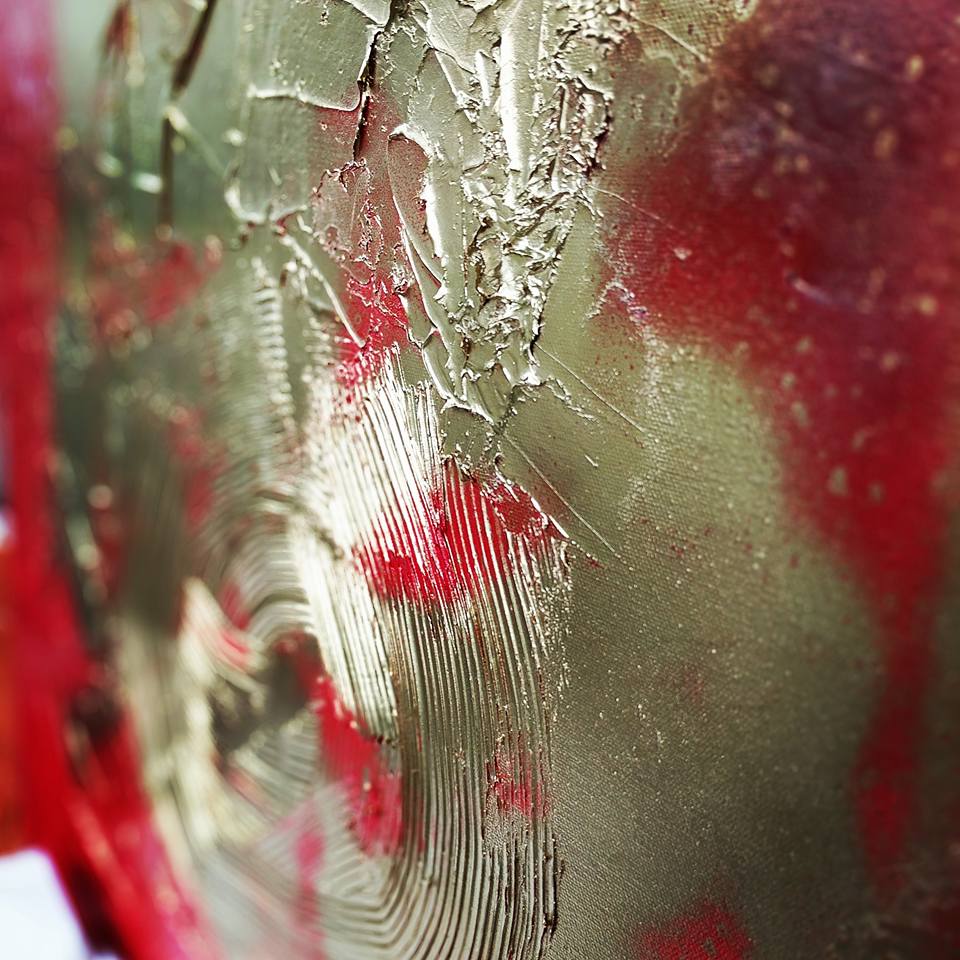
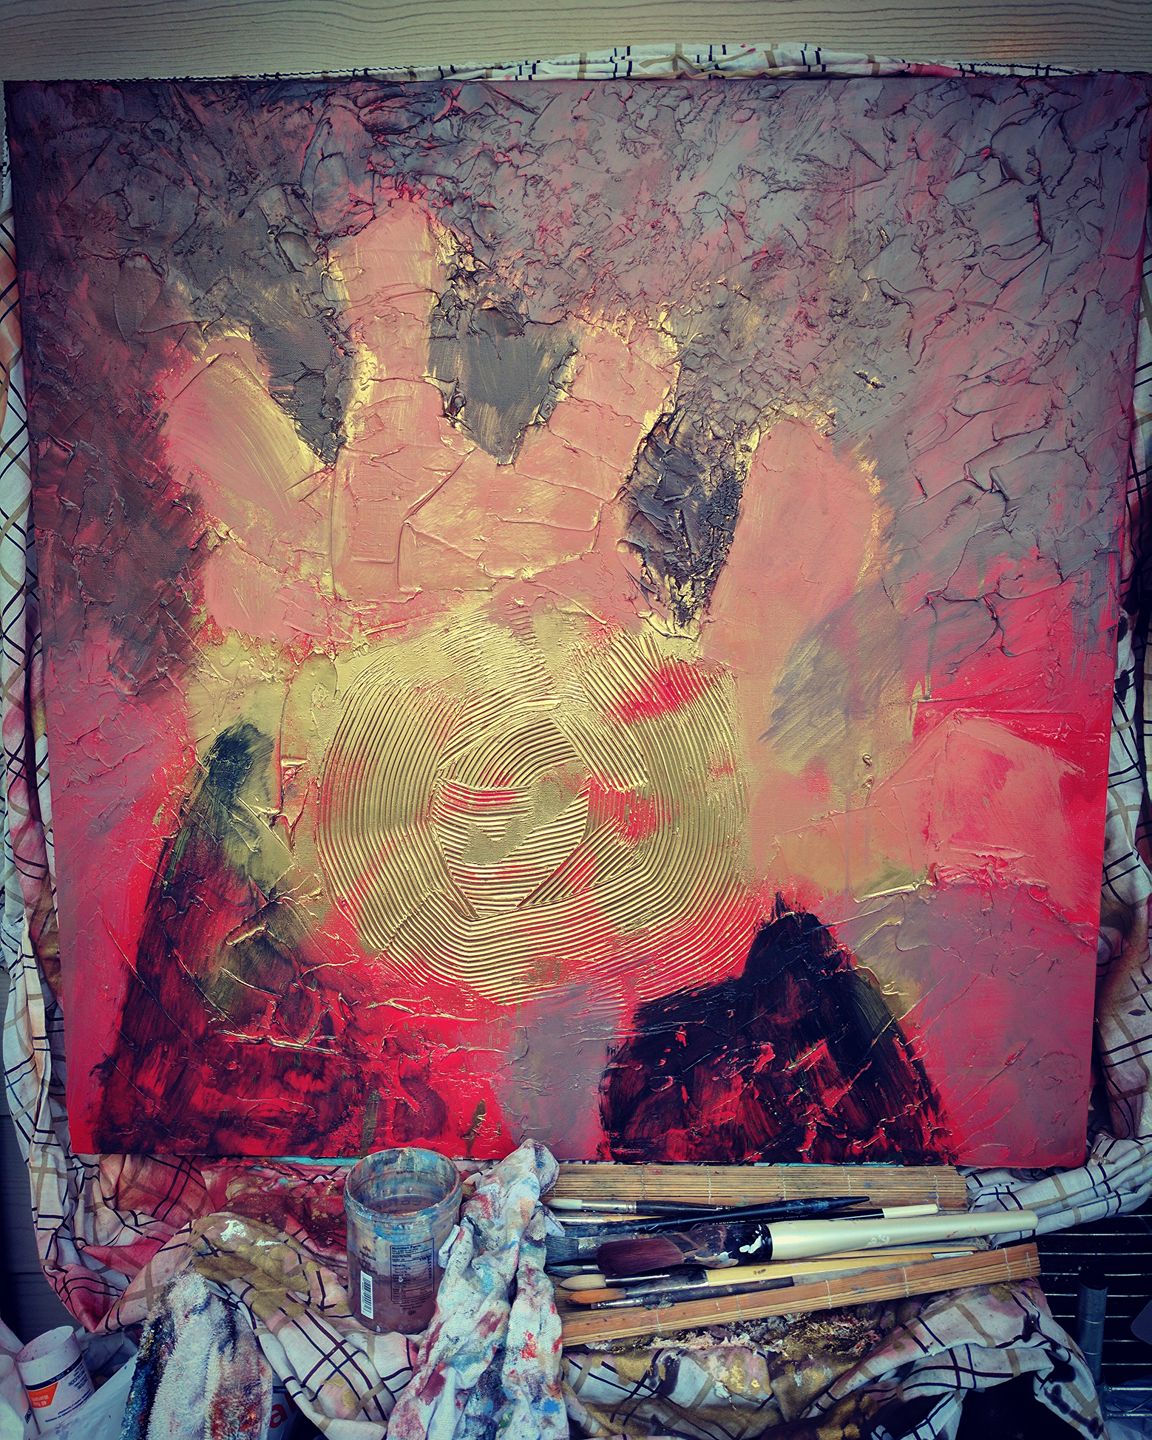
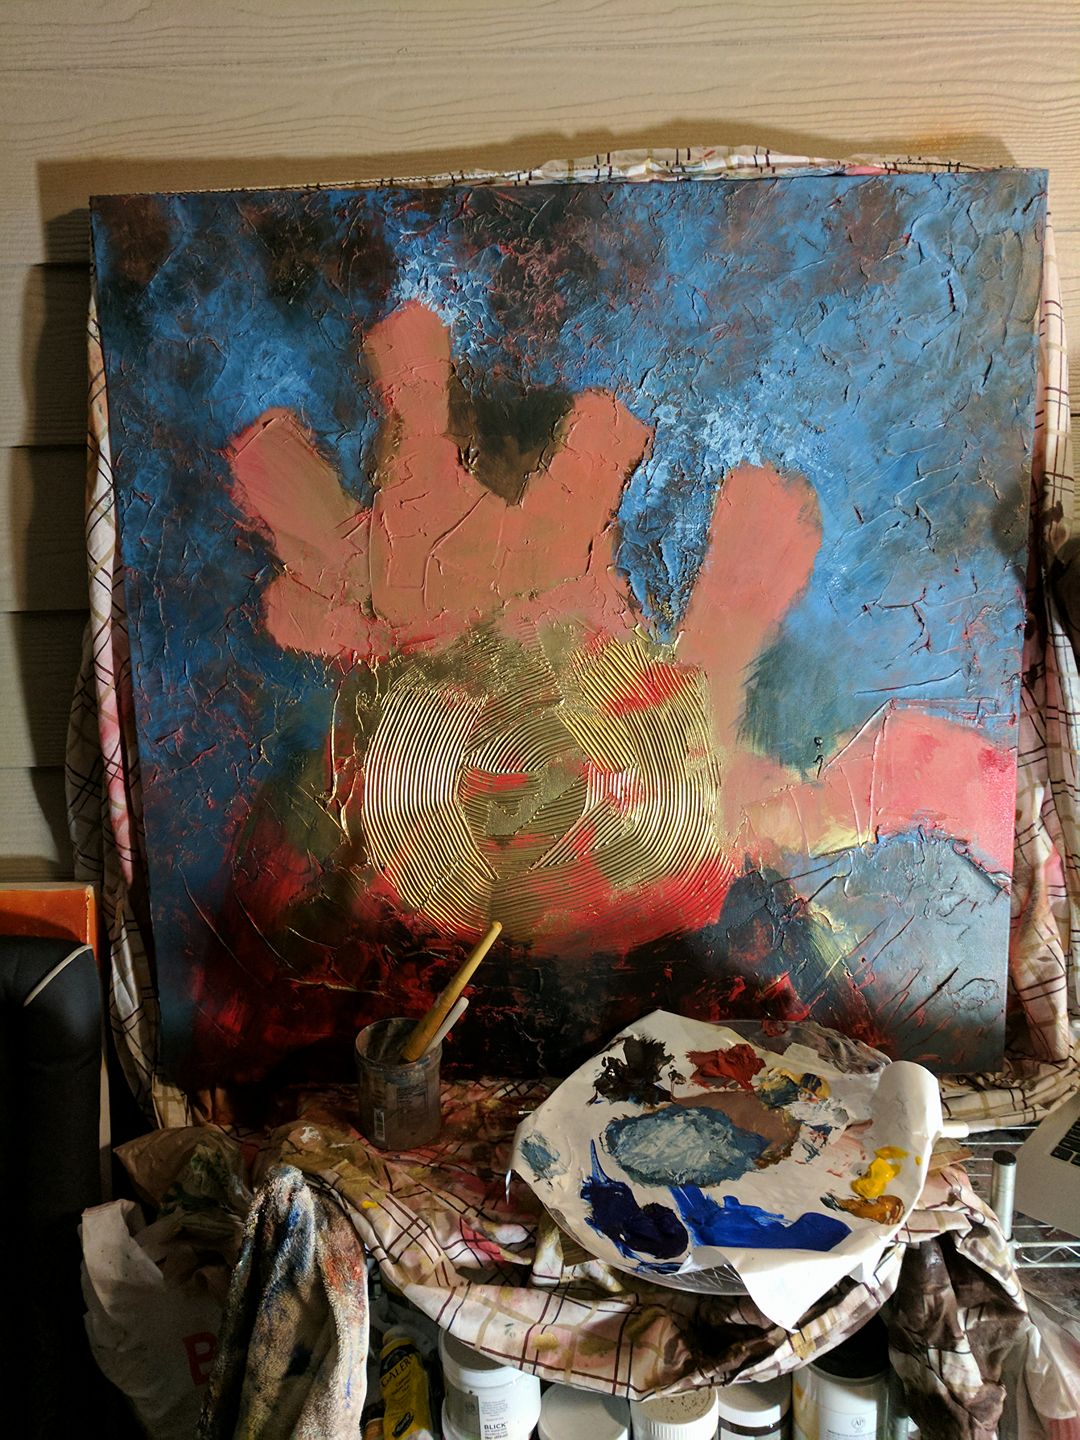
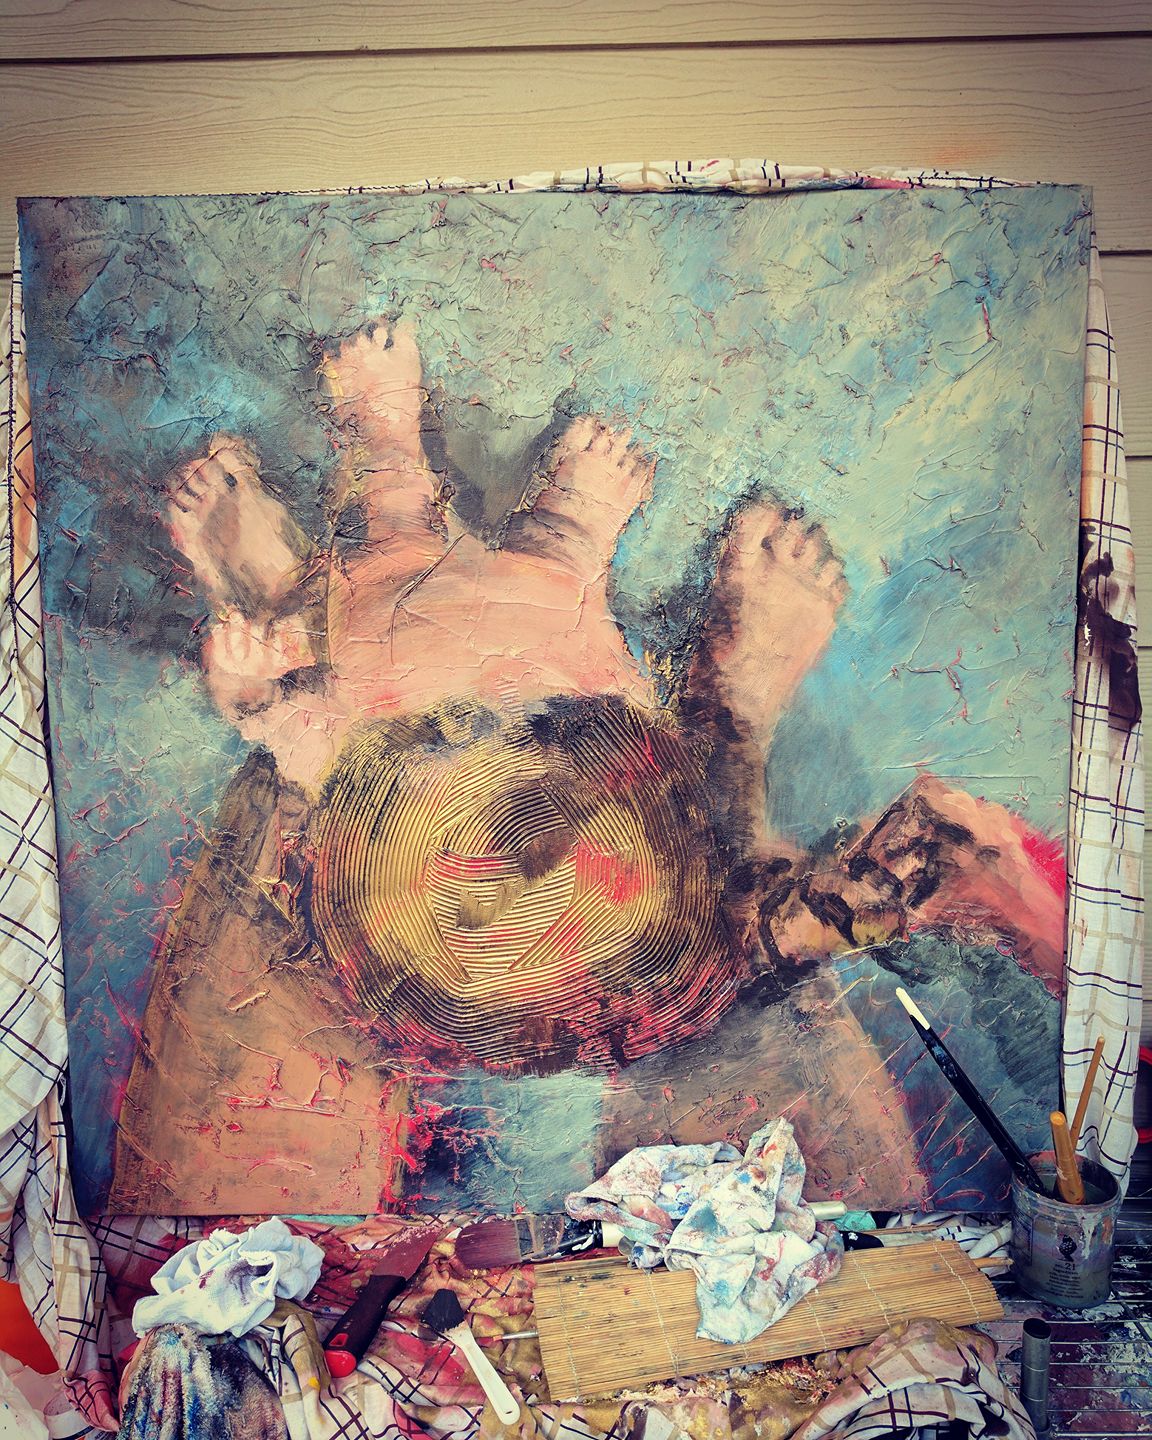
I have been experimenting with a few new techniques recently, but in this painting I decided to push them a little further. I first prepped my canvas with texture and a bright underpainting. Taking the composition, subject, and color into consideration during this stage was an important step in preparing the tone of the piece.
I began by "texture painting" and planning the major shapes and movement in the composition. Because I had already prepared the canvas, I wasn't dealing with a blank slate (so to speak), and blocking in the major highlights and shadows over the warm underpainting served a new purpose. I usually paint these in the planning phase, but here I considered how the subsequently painted layers would interact with the underpainting since the texture and glaze allow for much of the underpainting to peak through. After blocking in the highlights and shadows, I focused on the brighter colors and then eventually toned parts of those down with midtones.
Once the painting was nearly complete, I flipped the canvas to study the composition and realized the painting took on new meaning. Unable to decide which interpretation I liked the most, I decided to sign the painting a little unconventionally and left the directional decision to the viewer. The challenges this painting presented allowed for a lot of organic moments in the that I truly loved.
Jumping between Naps
Sometimes life only gives you a 30 minute window when your baby sleeps to fit in some personal time. Break out the old school exercise equipment (jump rope, kettle bell, and box) to get the most burn in your valuable time.
6 ingredients (or less) Mashed Potatoes
I am always on the lookout for baby-approved foods, and mashed potatoes are a tried and true staple that I know will always fill that little belly. This go-to recipe is so simple that I know I will always have ingredients on hand for it. I'm including some substitutes that I've tried in the past when I don't have just the right mixture available.

Ingredients:
- 6 potatoes
- 1/2 pint whipping cream (substitute sour cream or Greek yogurt depending on what you have available)
- 2 tablespoons butter
- milk
- salt & pepper to taste
- chives (optional)
Bring a large pot of water to a boil, and add potatoes until they become fork tender. Let potatoes cool enough to be touched. The potatoes skins will peel off easily using just your fingers to rub them off. Take as much or as little off depending on your preferences.
Pour cream in with potatoes and mash away! Add in butter and a little milk at a time depending on how creamy you want them. Taste for optional salt, pepper, and chives.

Taste testing is our favorite!
Butterfly 28
Happy to work on this unique colored duo today. This is the first time I've had to create this salmon color before in watercolor, and I love a good challenge in art. When I start a piece, I like to give myself an obstacle to overcome.