Part mermaid. Part cat. A quarter sliver sun. It’s Sunnycat! This character that has made an appearance in all of TWO Gabby’s Dollhouse episodes has struck a chord with my three year old. So, of course Mommy obliges and makes her dreams a reality. Sunnycat for all!

Headpiece first and foremost. I knew this part of the costume would get some heavy use so I went with sturdy construction before cosmetic.


headband base
orange tulle
orange, white, and fuchsia felt
varying pink, orange, purple iron on vinyl
iron on hemming adhesive
felt glue
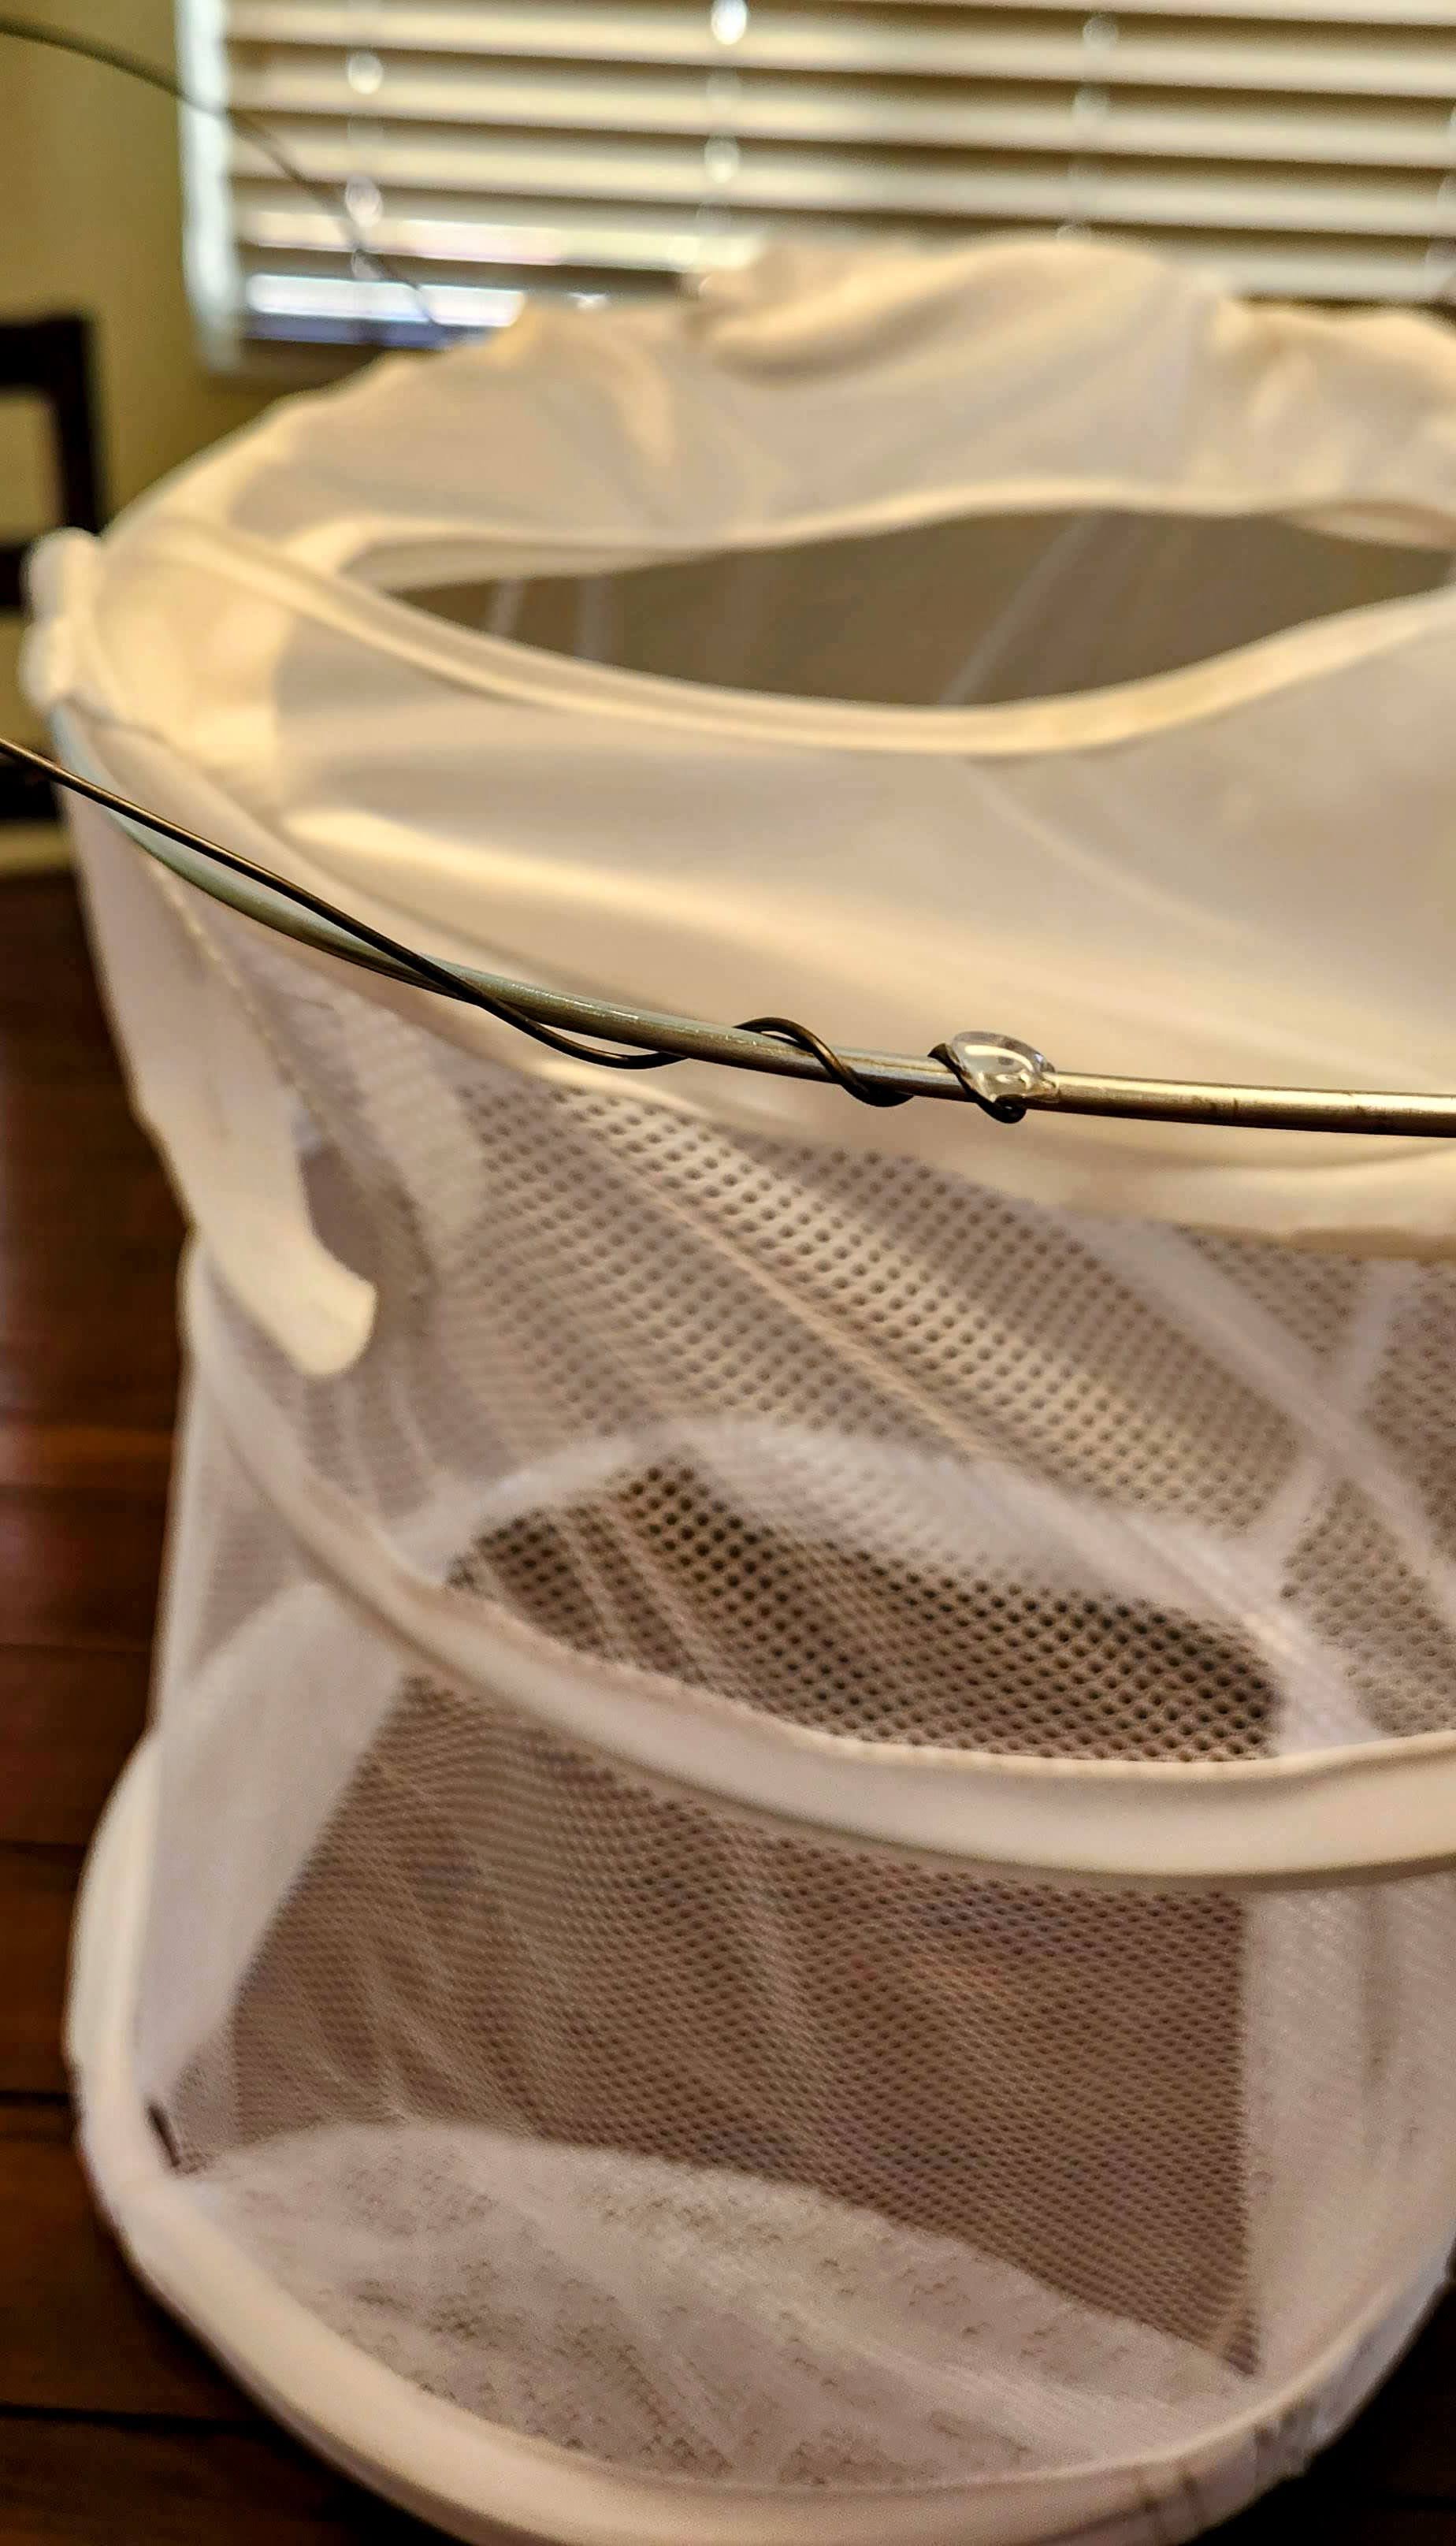
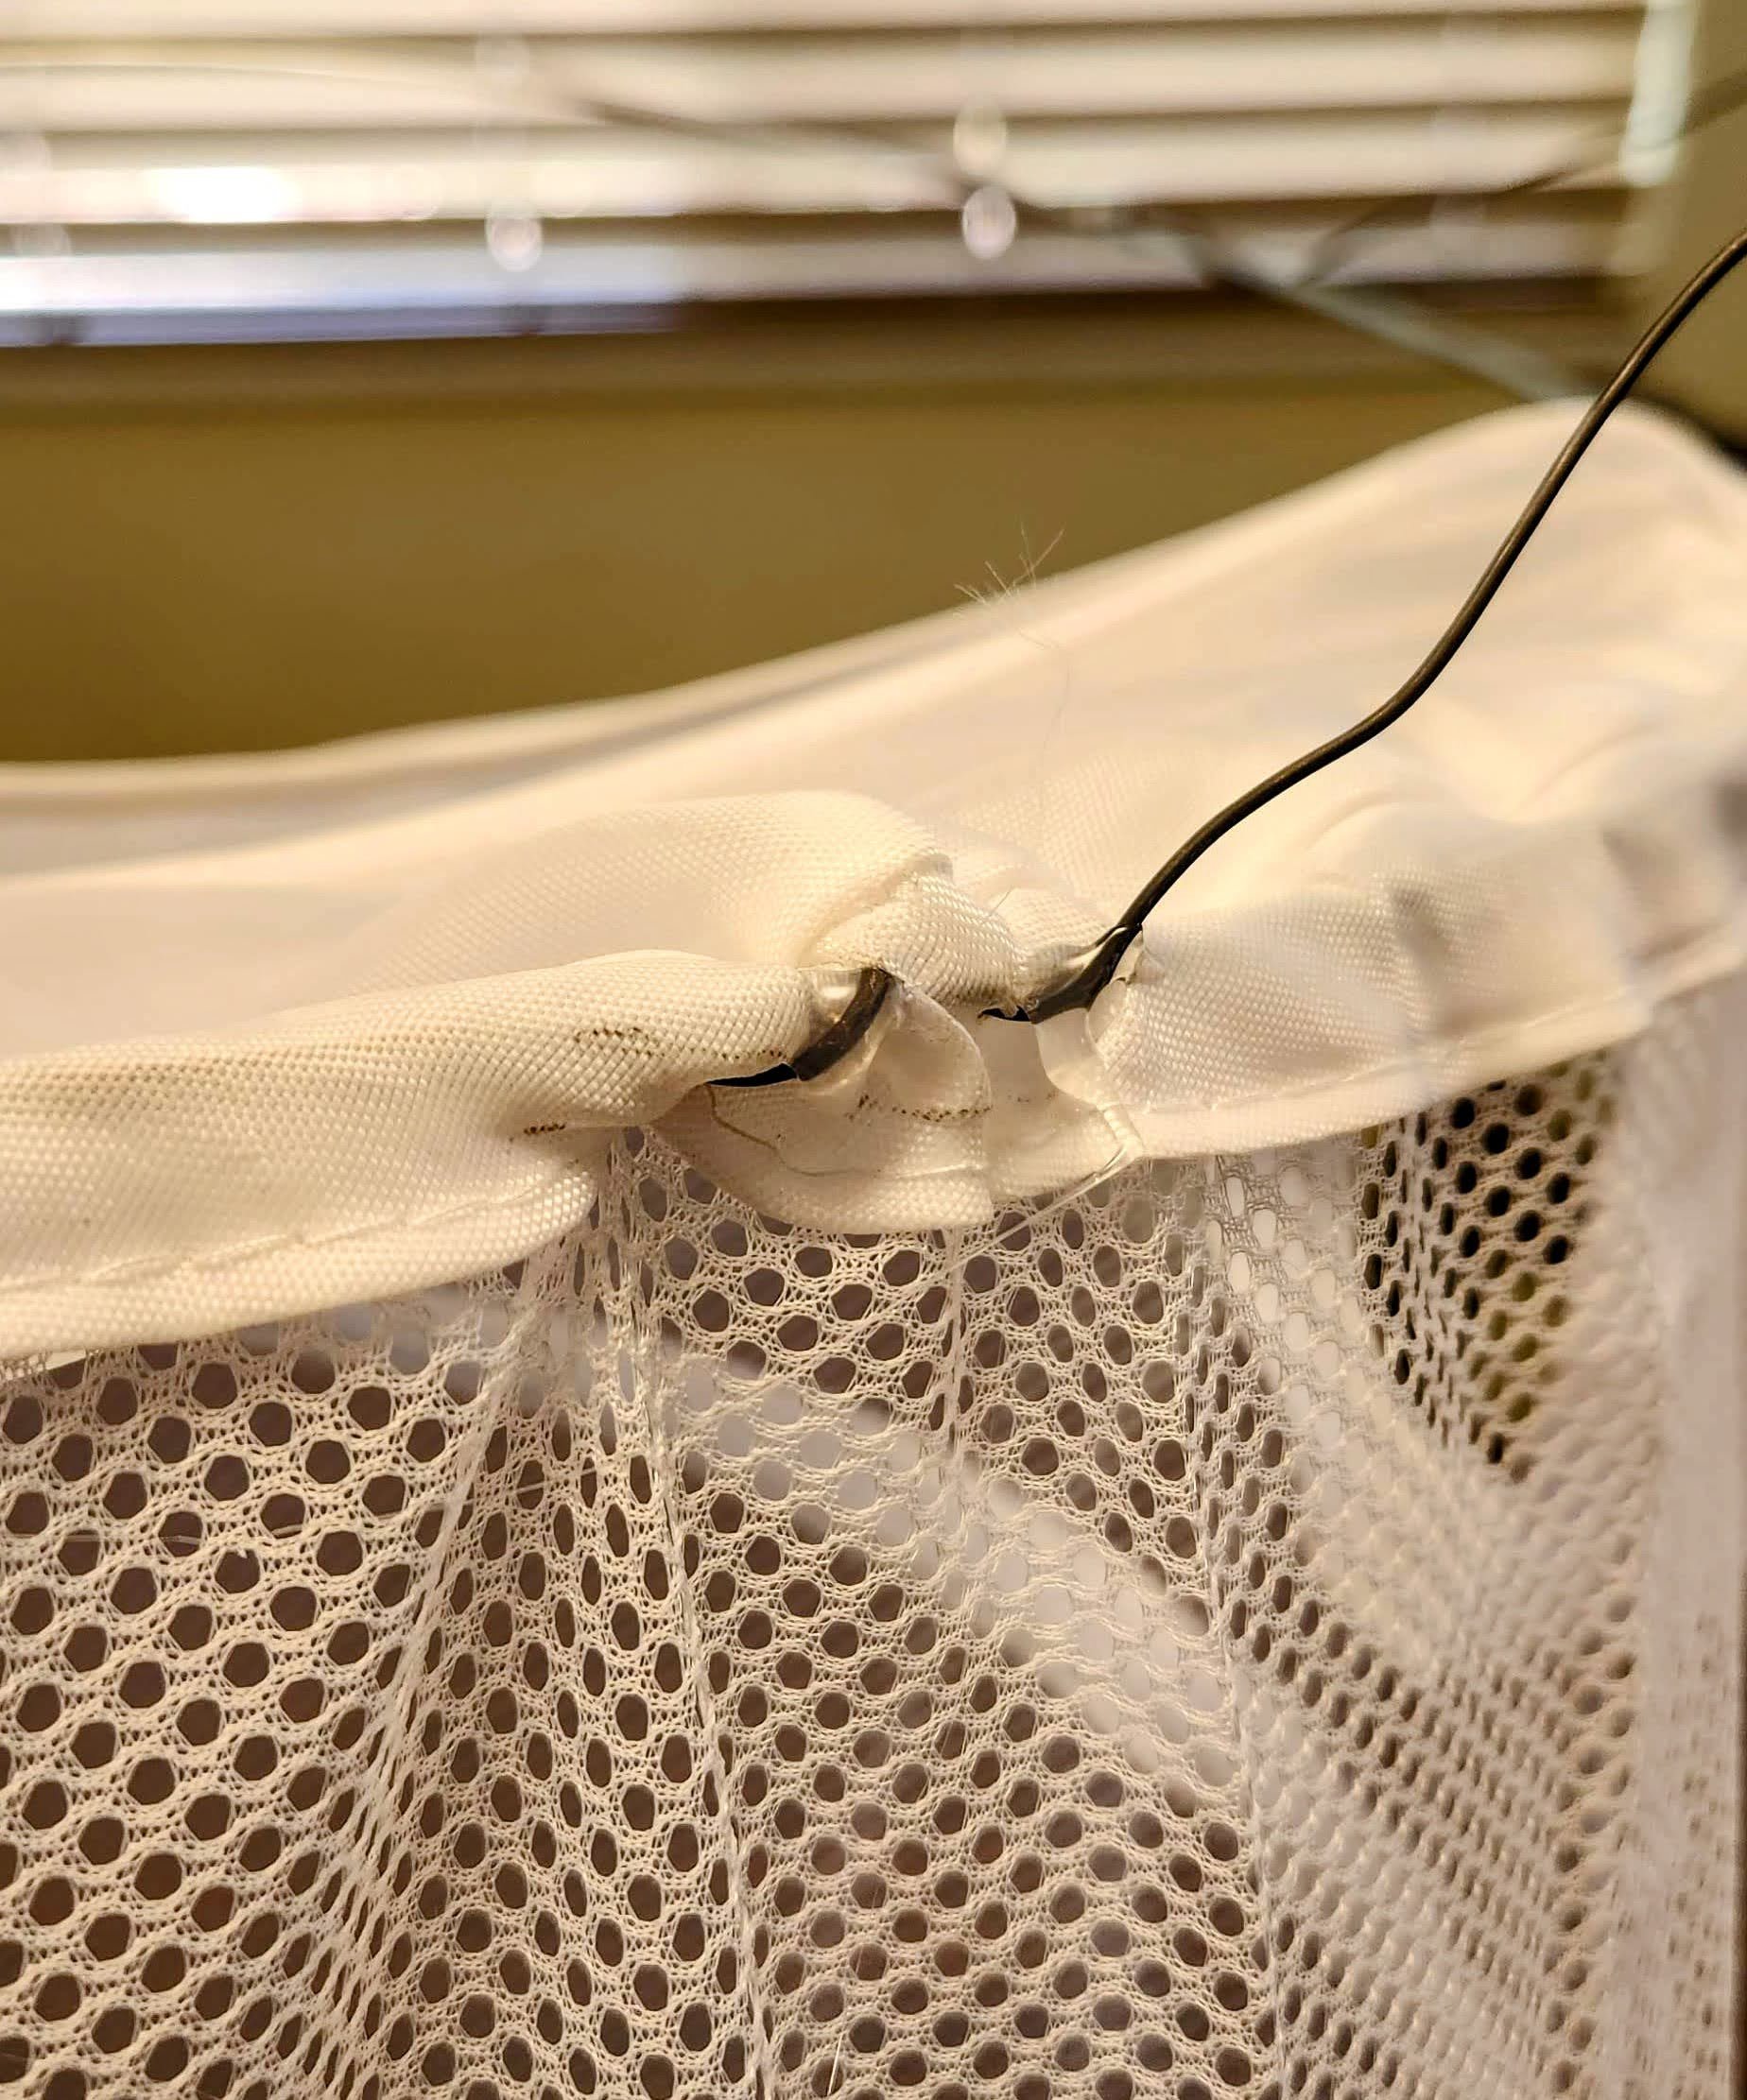
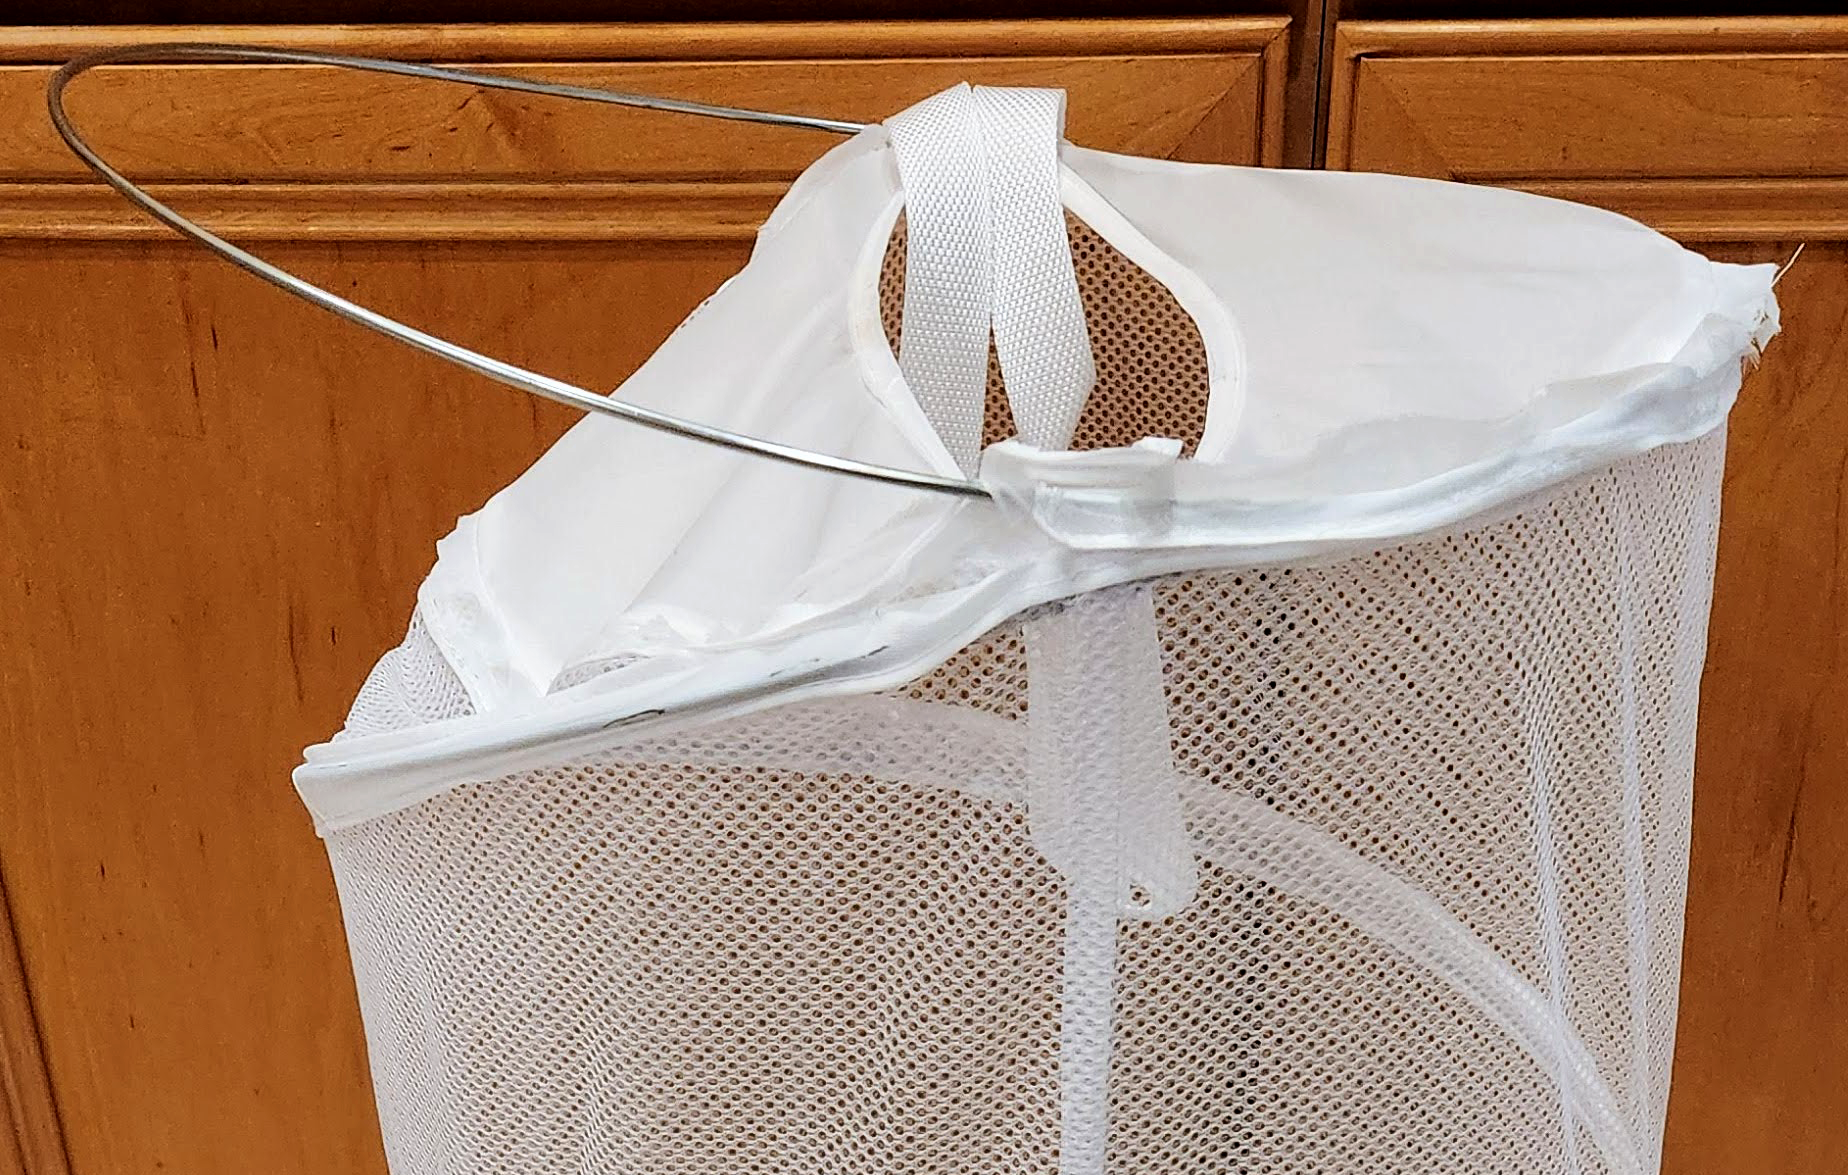
wire
decorative string
elastic
thread and needle
orange or pink shirt
Wrap the tulle around the headband in tight overlapping layers. Lock in place by sewing along the back edge.


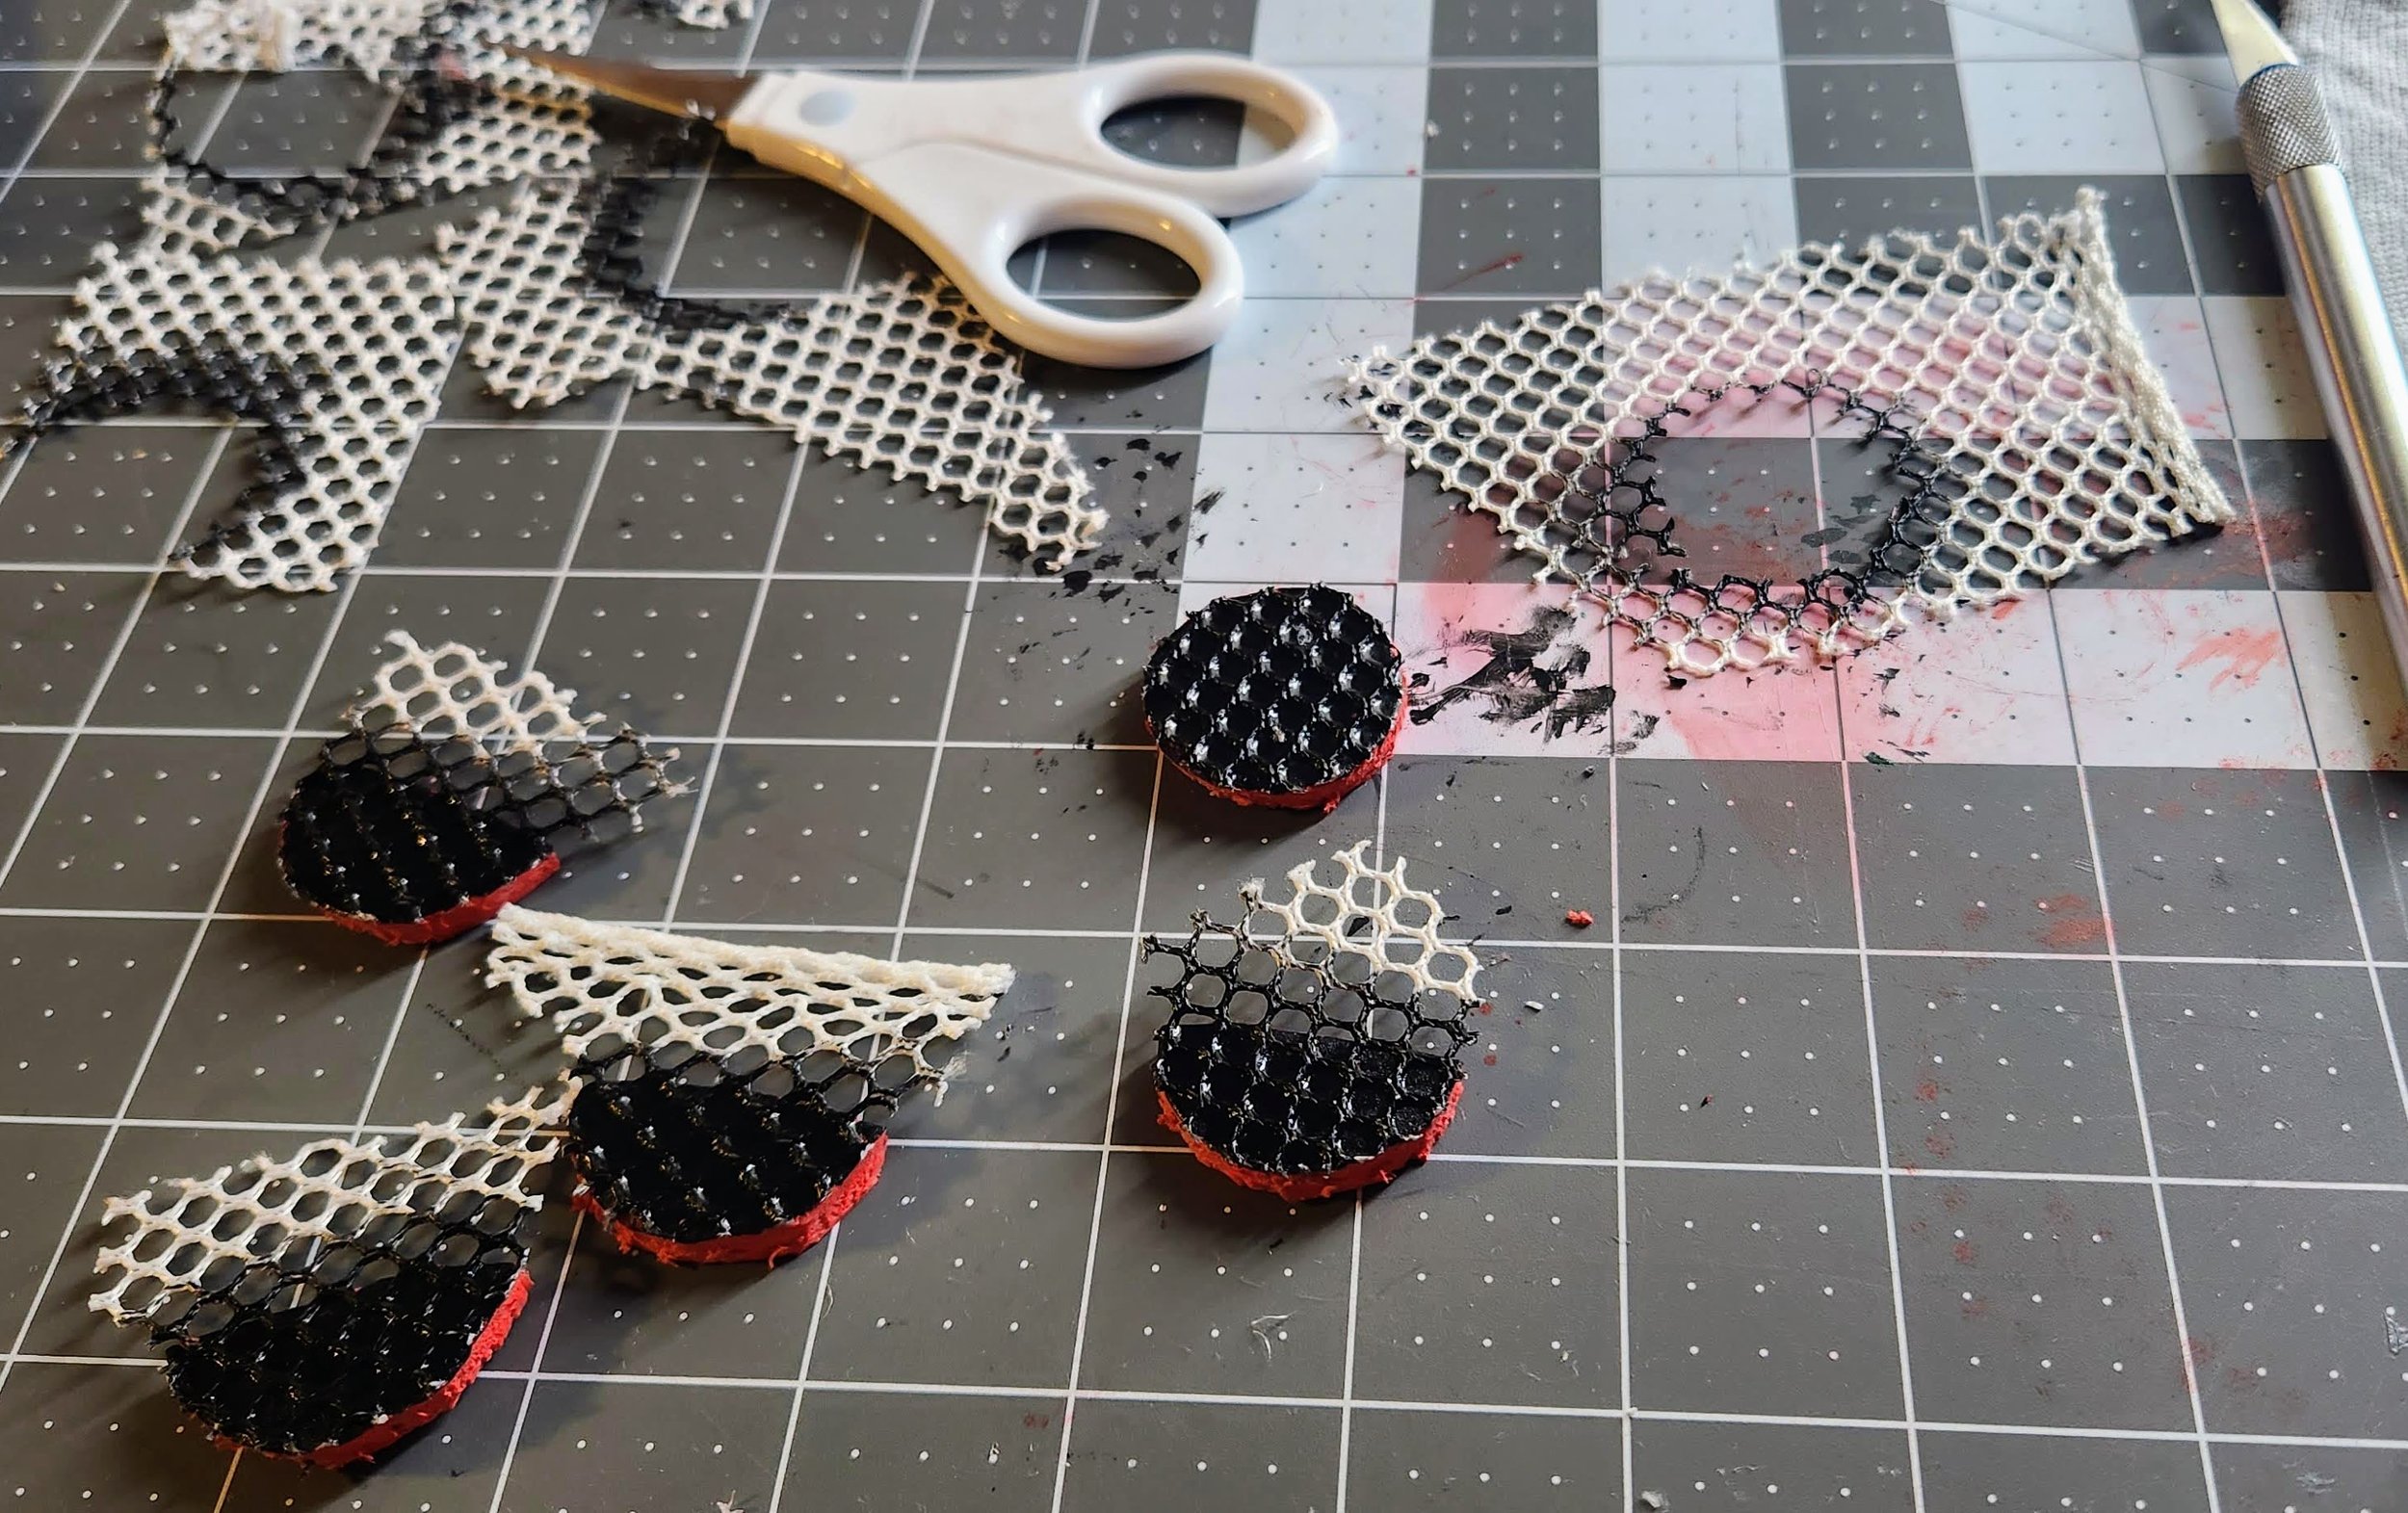
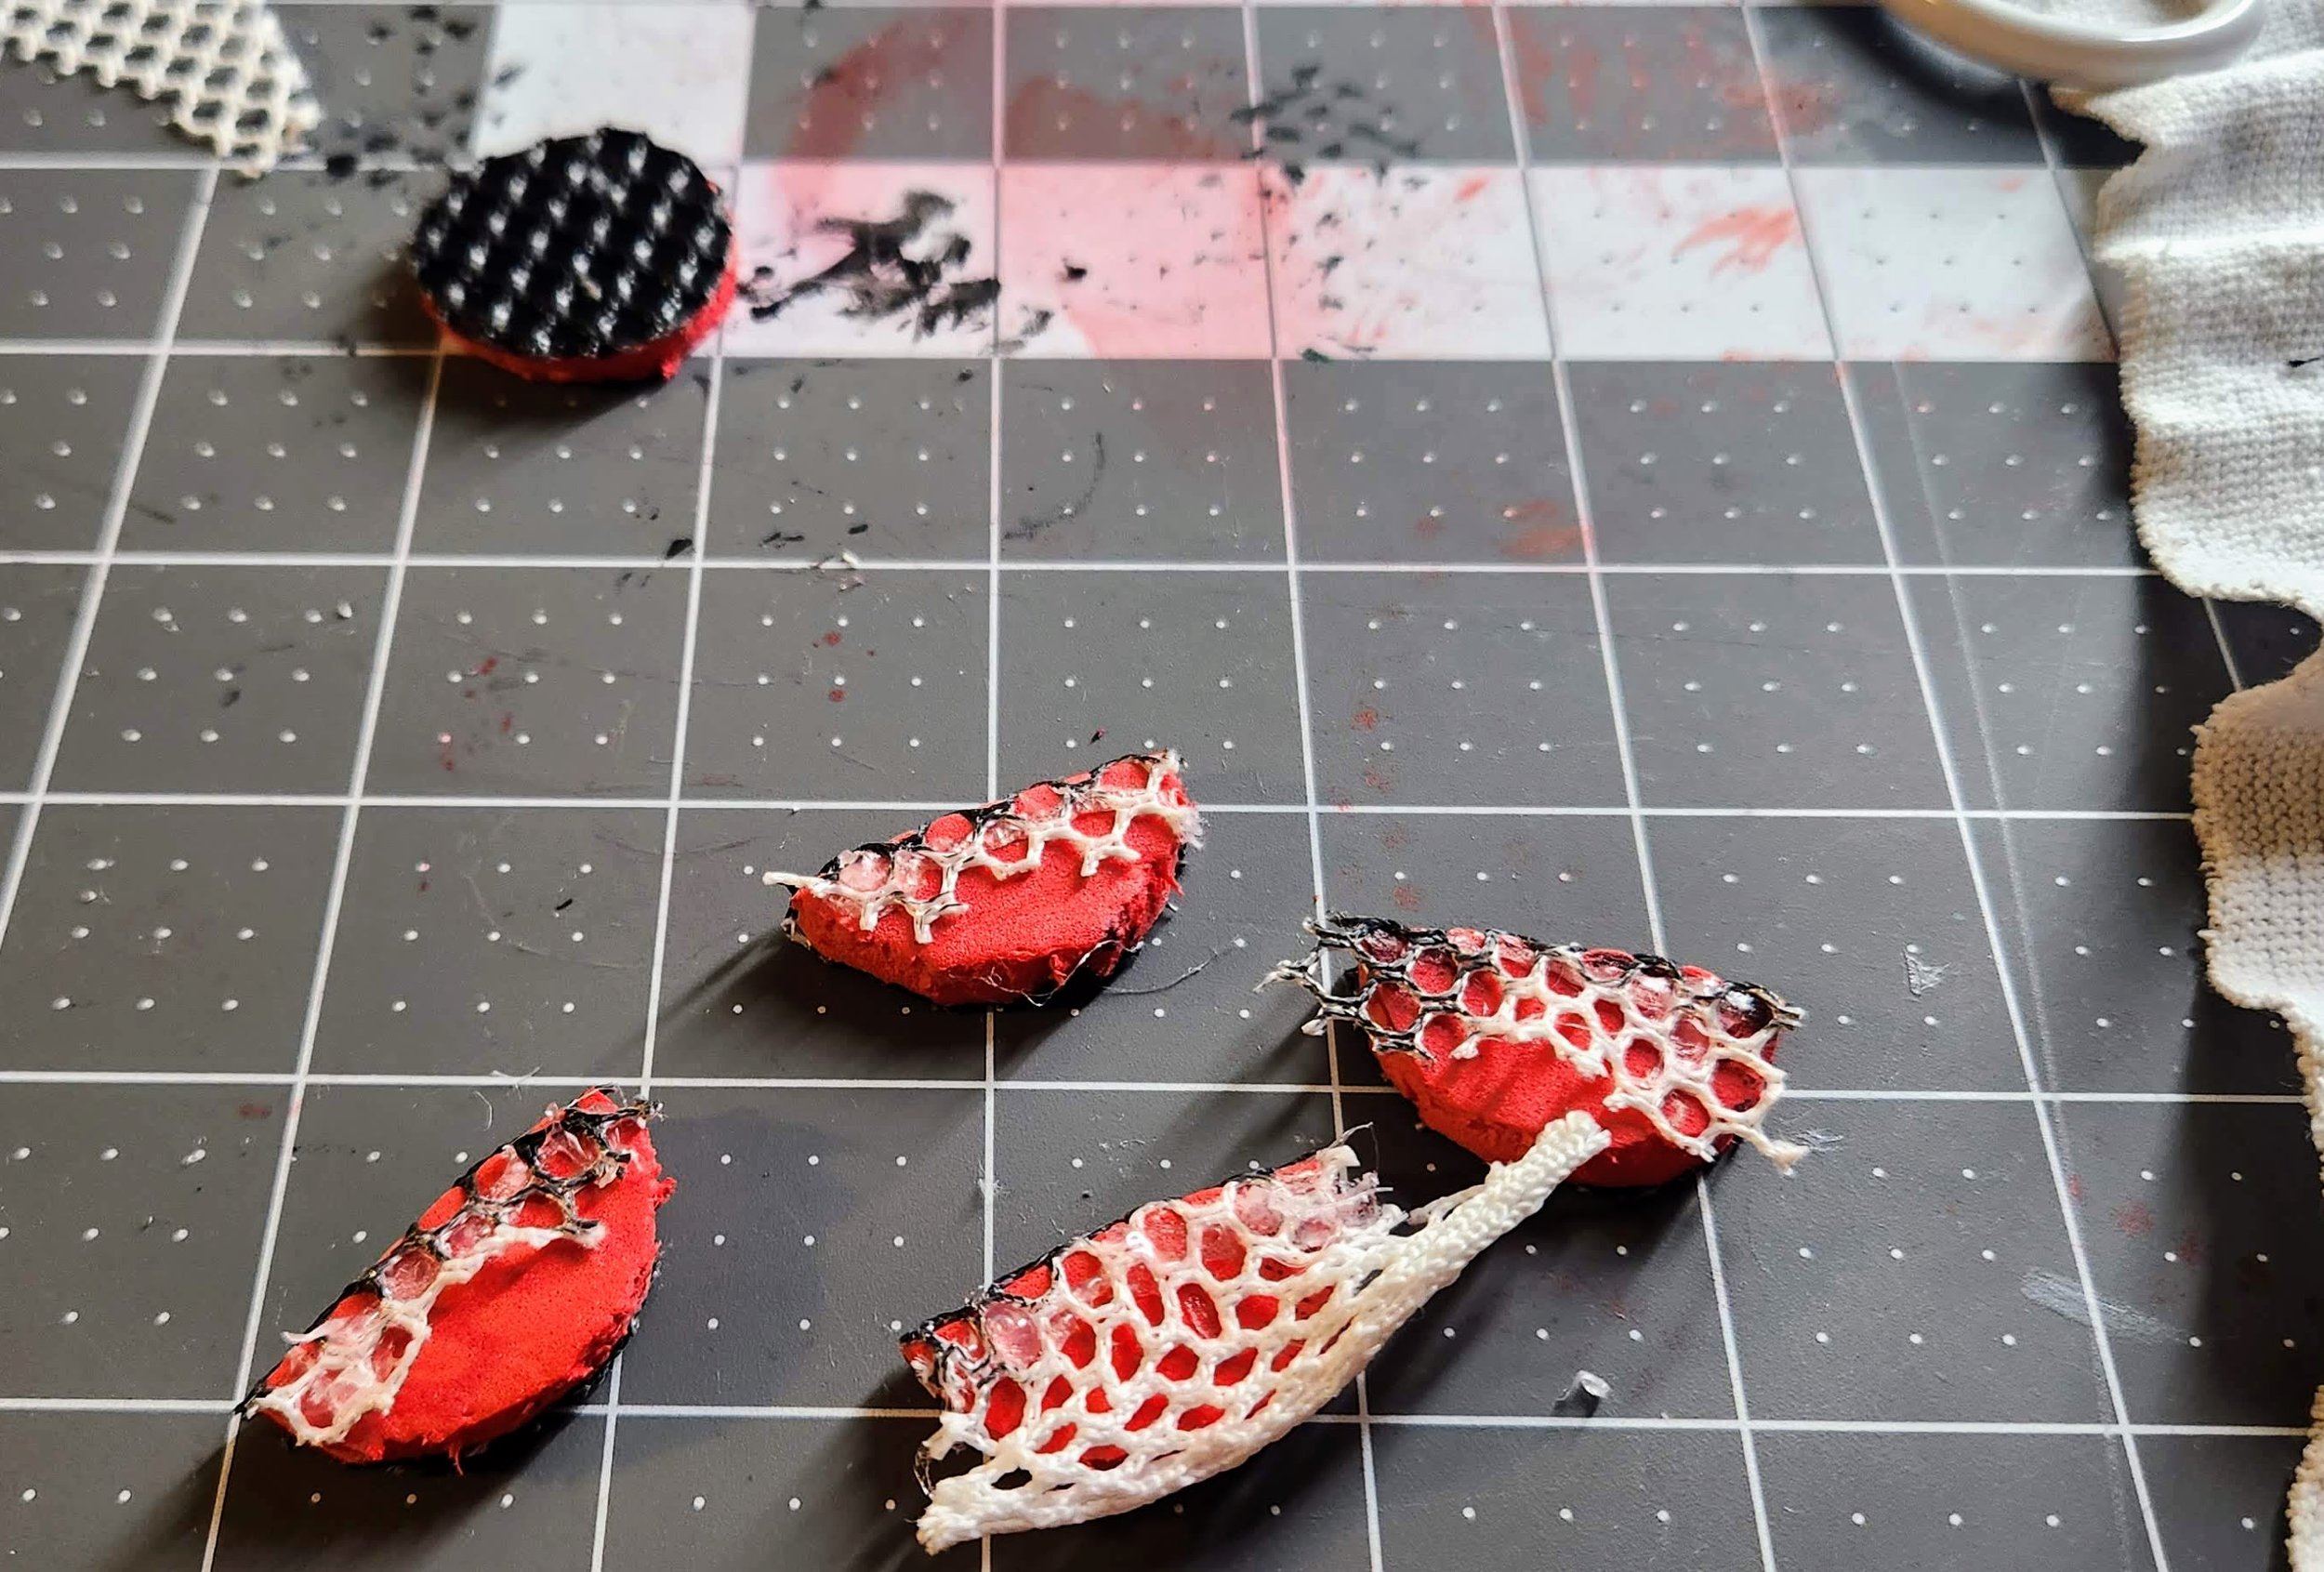
Cut out scale shapes of 1 1/2”-2” in all of the colors. Arrange in overlapping pattern and heat press in place. Measure proper sizing on head and create a scalloped scale pattern on the backside to be cut.


Cut orange triangles for the ears depending on wearer’s size that curve slightly on the outside edge. Cut proportionally smaller triangles in fuchsia for the inner ear. Felt glue to attach together.

Cut orange sun, and yellow circle for the sun’s center. Assemble pieces for attachment.


Position scaled headpiece so the majority hangs over the front portion. Sew it to headband along the mid-line. Sew folding the bottom 1/4” of the ears on the backside of the headband partially overlapping the sides of the scaled headpiece. Carefully iron the ear’s fold to solidify the bend. Felt glue the sun toward the front of the headpiece.


Use white felt and chalk. Measure the wearer from chest to mid-calf/knee. The width should be just big enough to cover the chest. Create the tail a little less than chest width long and about chest width extending out, the double leafed tail is extended out from there. Fold the tail in half length-wise and draw a small curve along the inner edge to be cut for the chest detail.
Cut iron on vinyl in approximately 2” wide scales of varying pinks, purples, and oranges.


Beginning with the end of the tail, pattern scales in an overlapping formation of rows. Periodically iron sections to the felt to lock in place before moving on to other rows. Flip the tail over and cut off excess trim.


Position the tail on the shirt. Pin in place. Turn inside-out, and adhere the hemming adhesive tape with an iron.


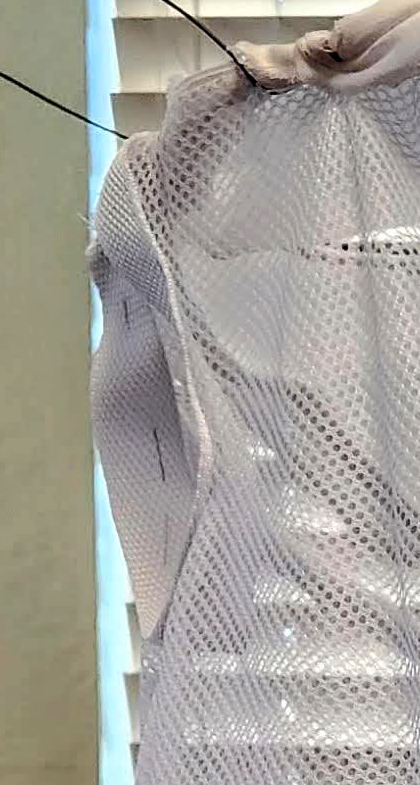
Cut wire to length of tail. Cut scrap felt to cover wire, and attach with iron on adhesive. Cut length of decorative string from the person’s arm when extended out down to the bottom of the tail. This will be used to “wag” the tail. Connect the string under the felt covering. Create a bracelet from elastic and sew the string together with the elastic bracelet.

Sunnycat in action.


